Editor
When writing in the WonderPen editor, following skills may help users increasing their efficiency.
Editor Toolbar
There is a toolbar at the top of the editor, and the functions of each icon are shown in the following figure:
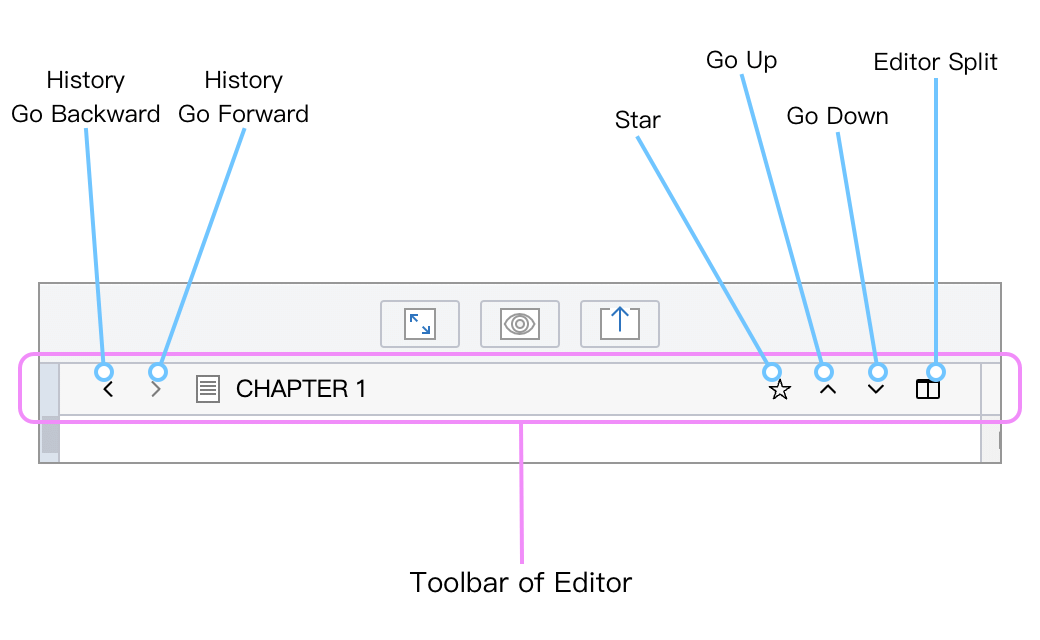
The left and right arrows on the left represent back and forward in the document access history, similar to the browser's back and forward buttons.
The asterisk button on the right indicates starring (favorites), and the starred documents will appear in the Star panel (favorites panel) on the left for quick access.
The up and down arrows on the right represent switching up and down in the directory tree, that is, accessing the previous or next document in the directory tree.
The editor split button on the far right, after clicking, will split the editor into two, see the editor split instructions for details.
Highlight Dialogue
When writing a novel or screenplay, you may want to separate dialogue and scenes for better viewing or editing. At this point, you can use WonderPen's Highlight Dialogue feature.
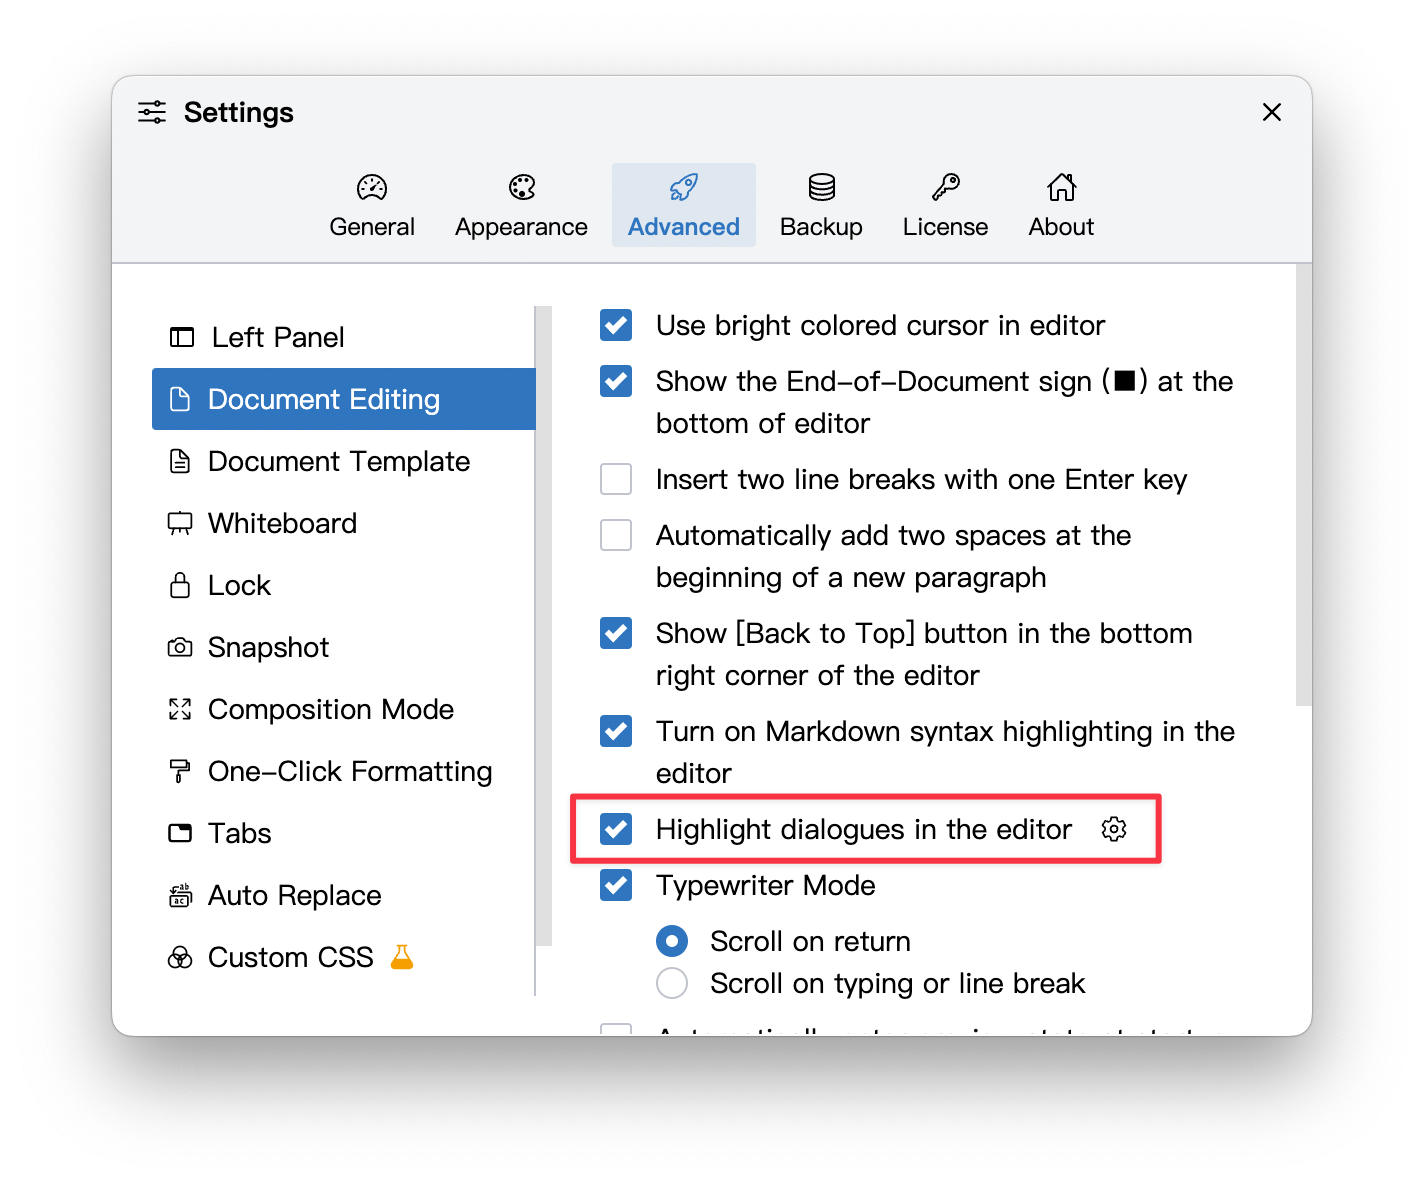
You can enable the highlight dialog function in the Settings → Advanced → Document Editing tab, as shown in the following figure:
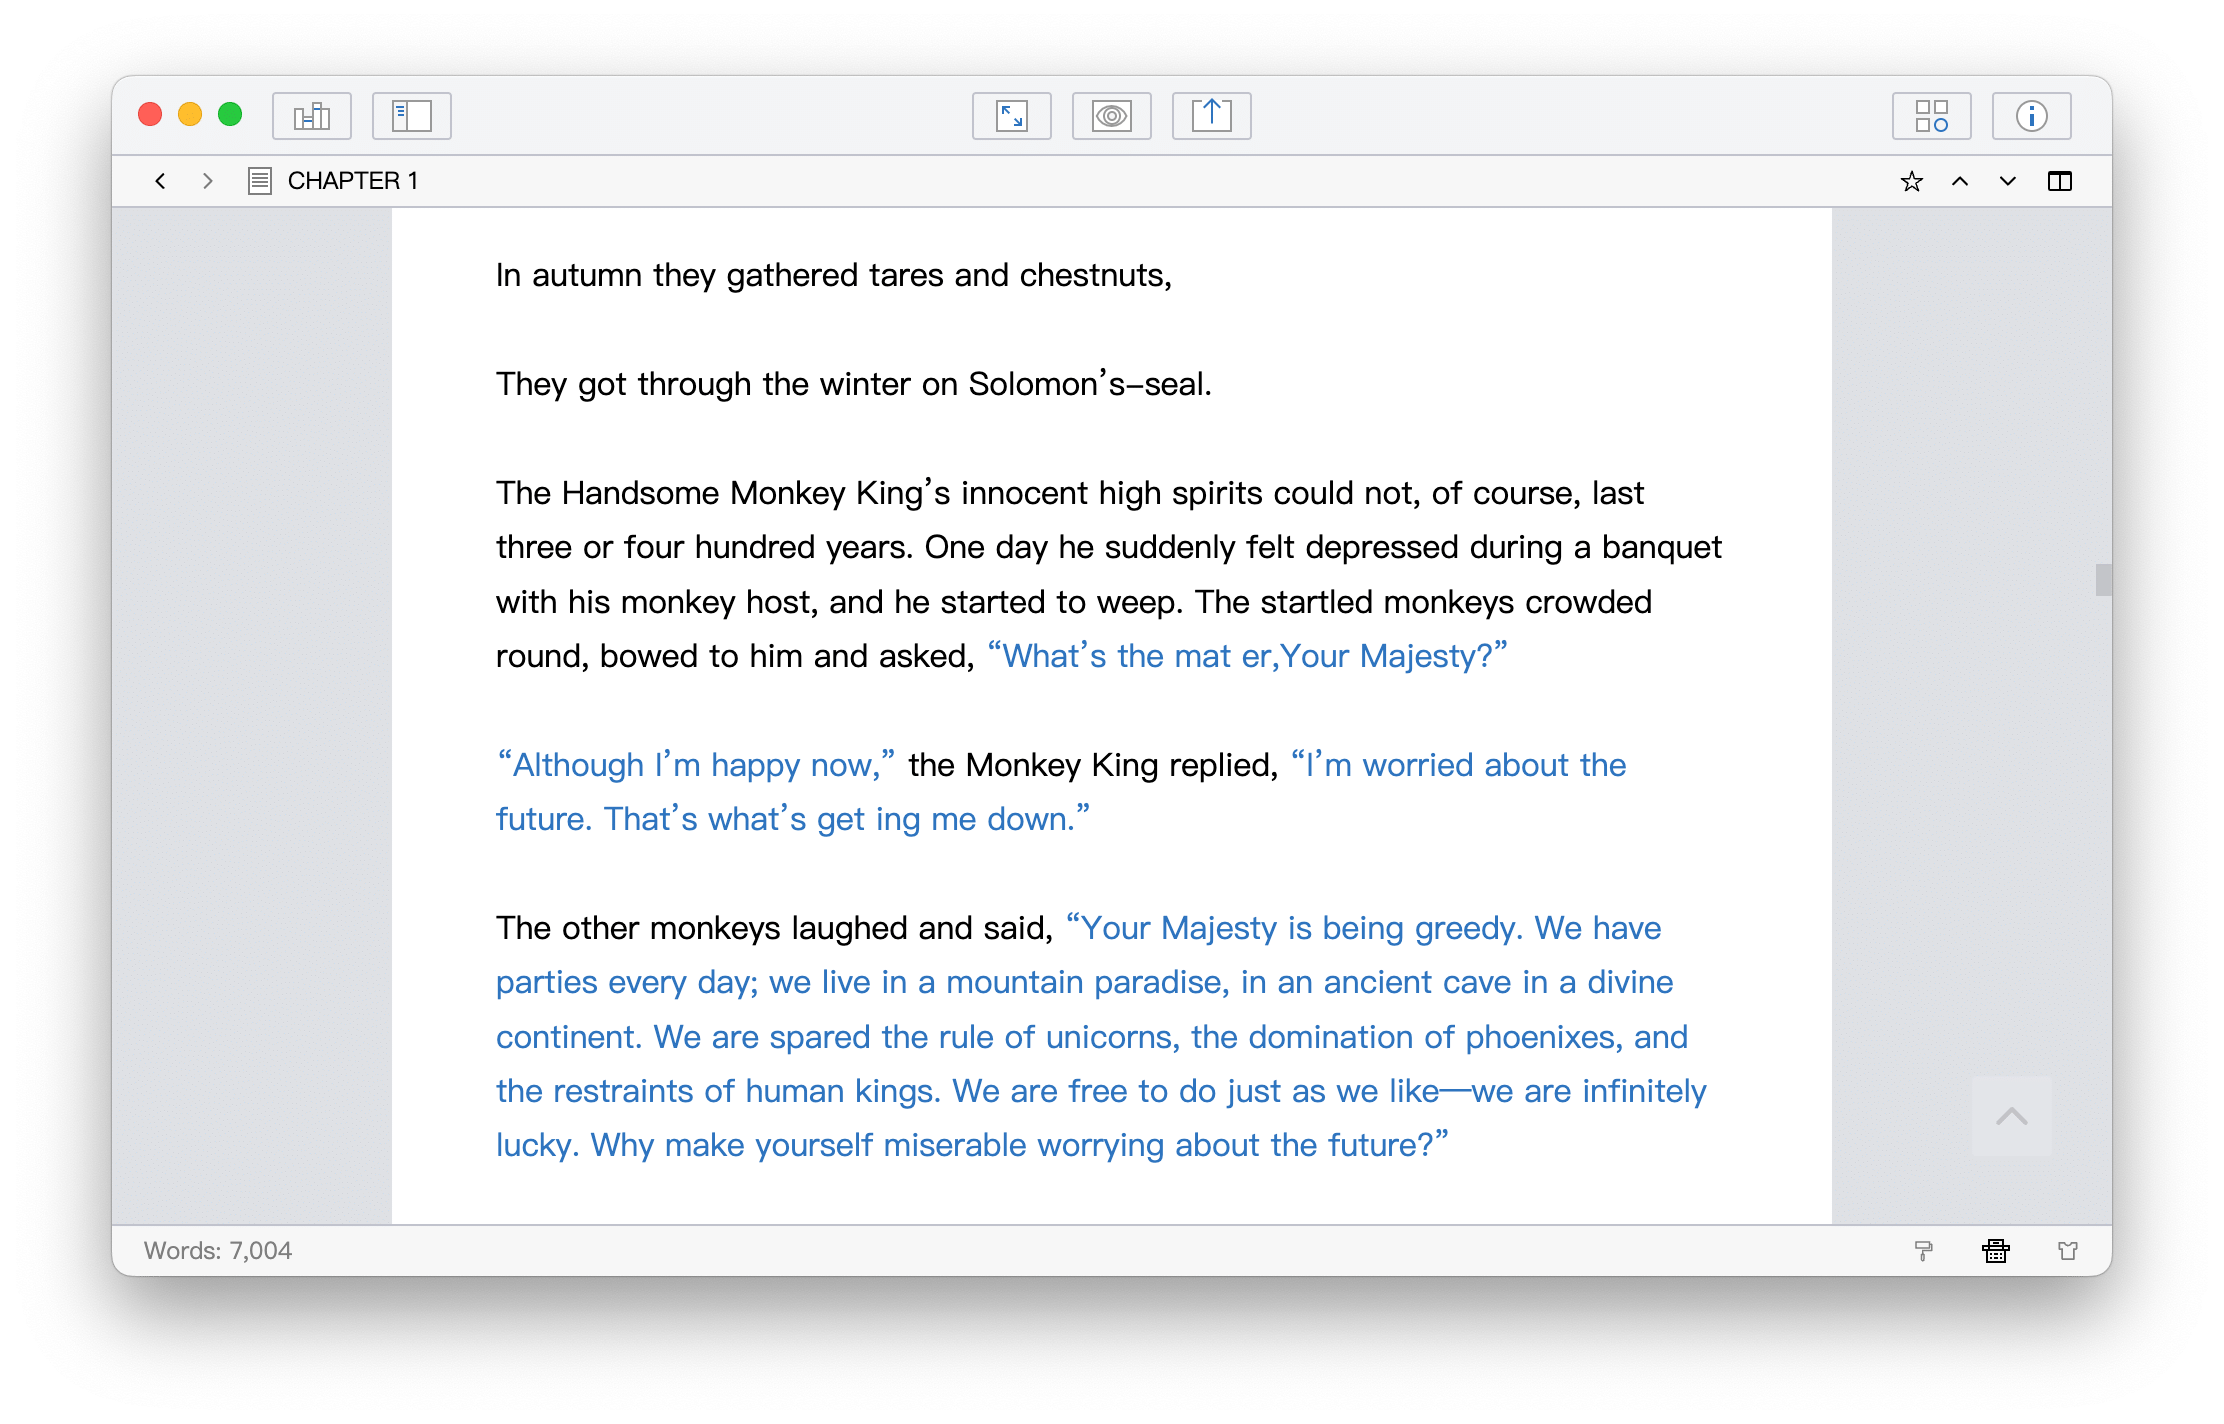
When the highlight dialog is turned on, the effect of the editor is shown in the following figure:
In the settings panel, you can also set the color of the highlighted dialogue, the identifier of the dialogue, and so on.
Use Memo
Memos are usually used for reference, can be used to record inspirations, or to record notes for the current document. When exporting the document, the content of the memos will not be exported.
Click the i icon on the right side of the top toolbar, or use the shortcut Ctrl + 2 (⌘ + 2 on macOS) to switch the right panel.
The Memo panel is shown below:
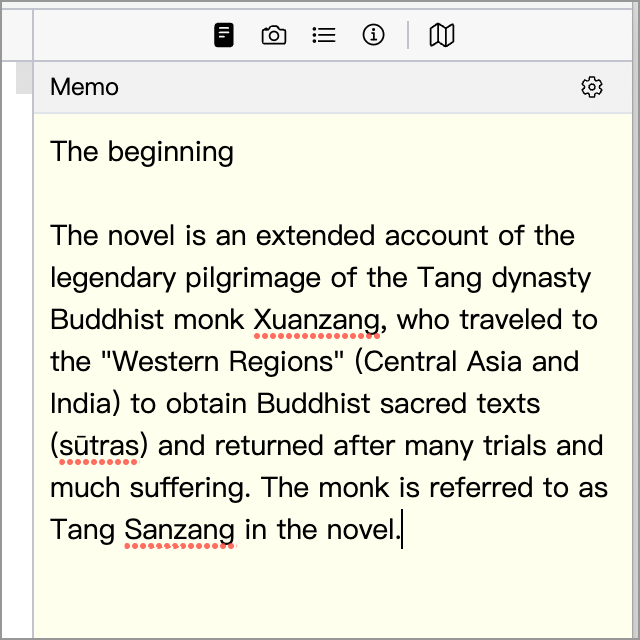
The first line of the remarks will appear after the title of the document tree on the left, such as the words The beginning marked by the arrow in the figure below, which comes from the first line of the memo.
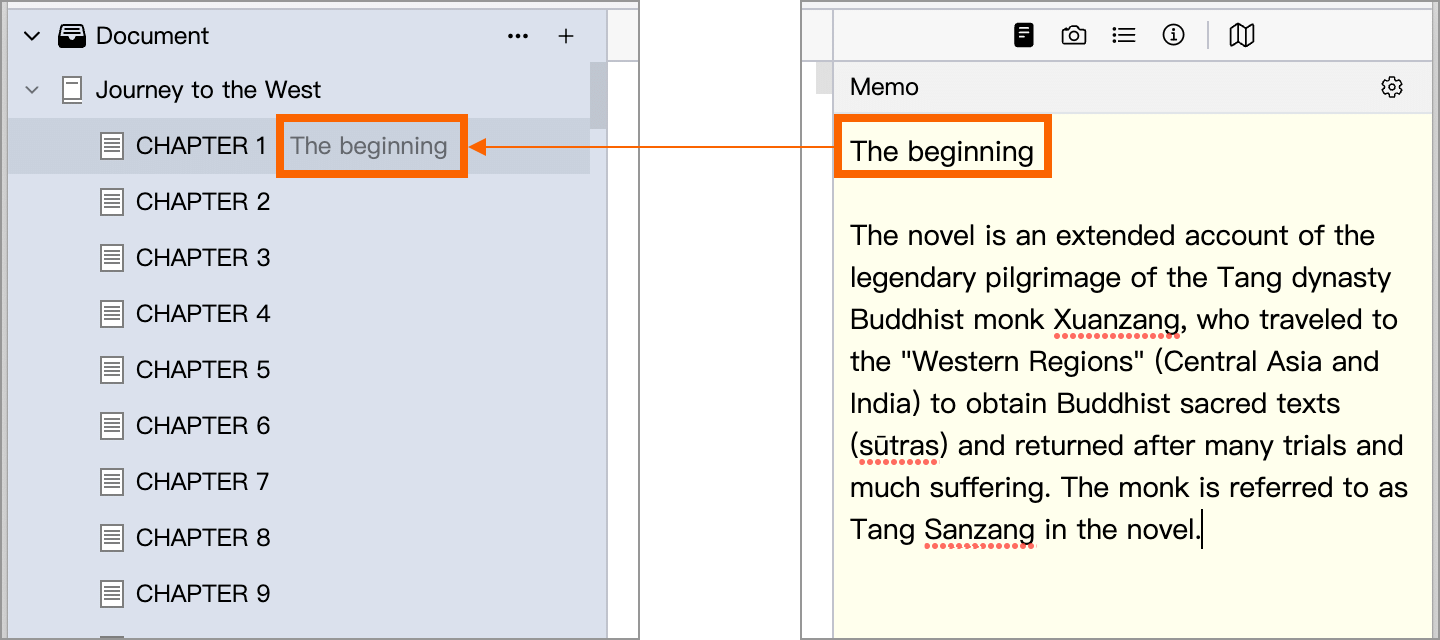
This feature may be useful if your chapter titles are just simple numbers and you want to briefly mark the chapter content with a few words.
The first line of the Memo appears after the heading of the directory tree on the left.
Open Documents in Floating Window
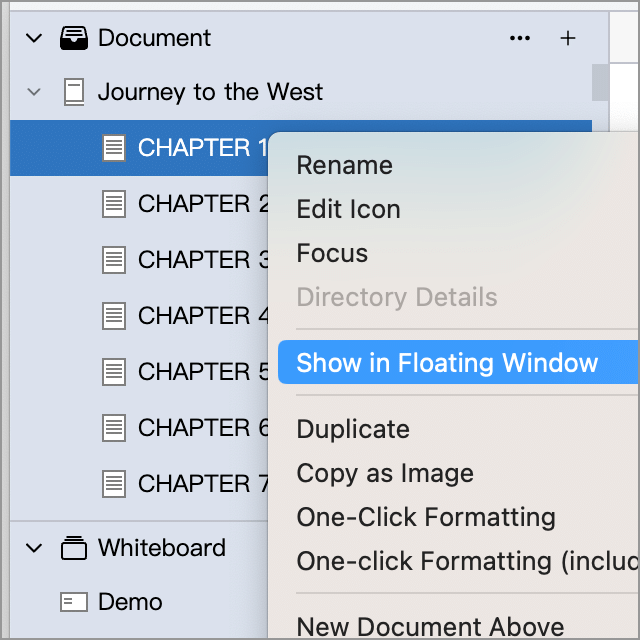
You can right-click on the node of the directory tree on the left, and click the Show in Floating Window menu item, then, the selected document will be displayed in a separate floating window.
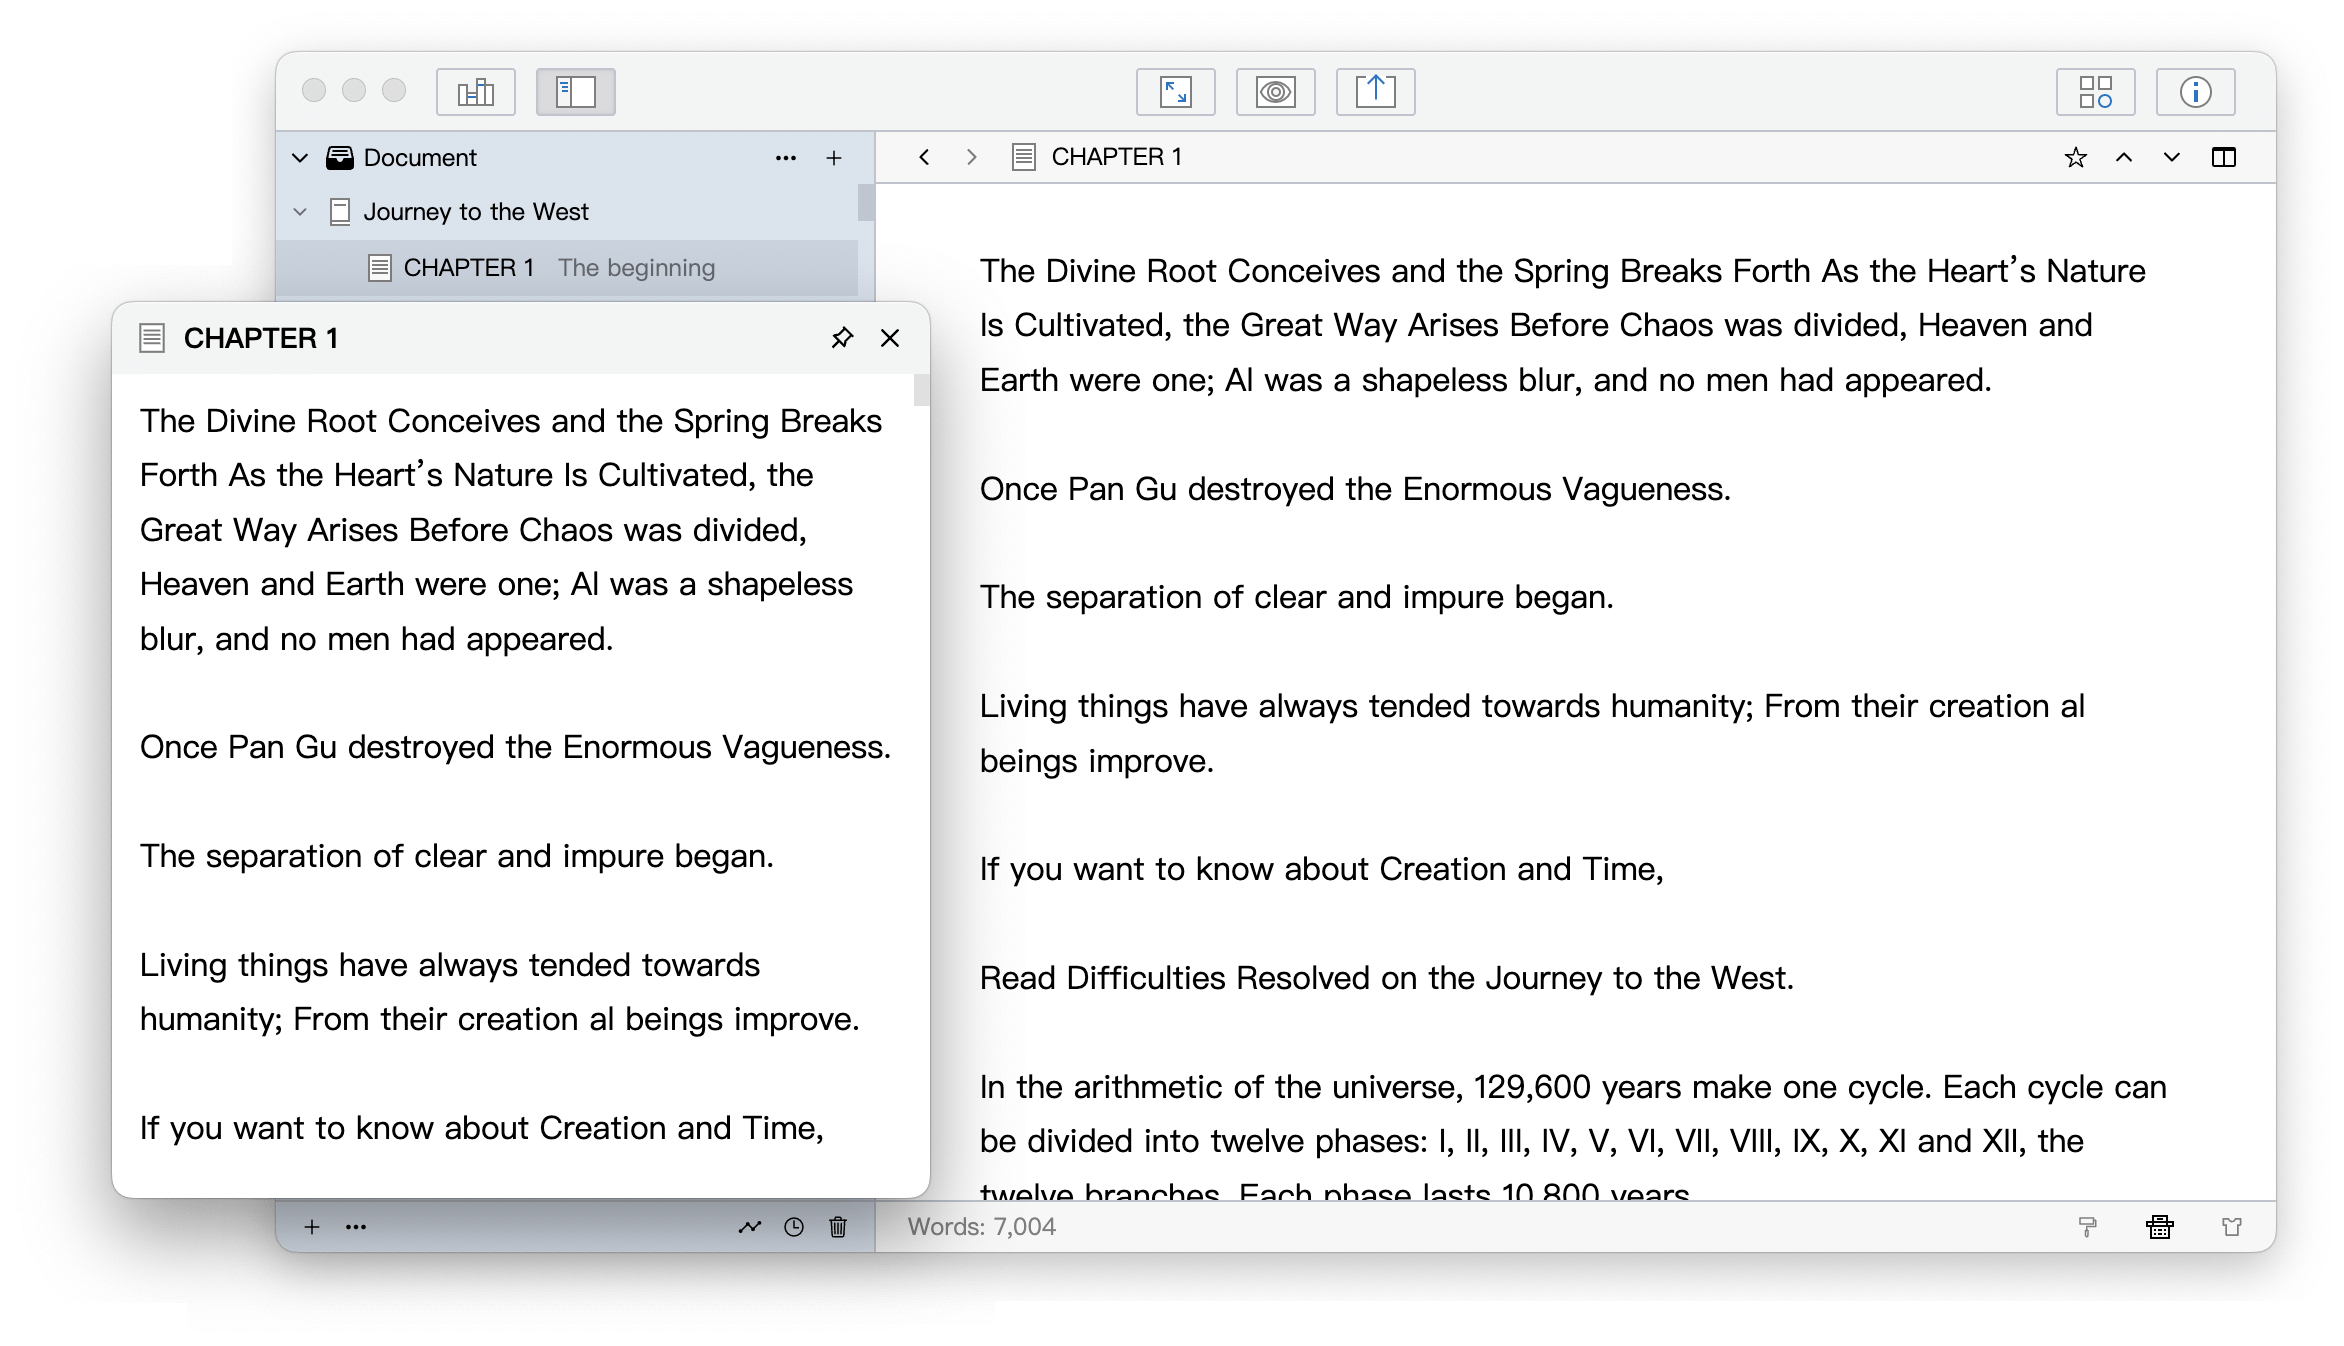
The floating window is shown as the following figure:
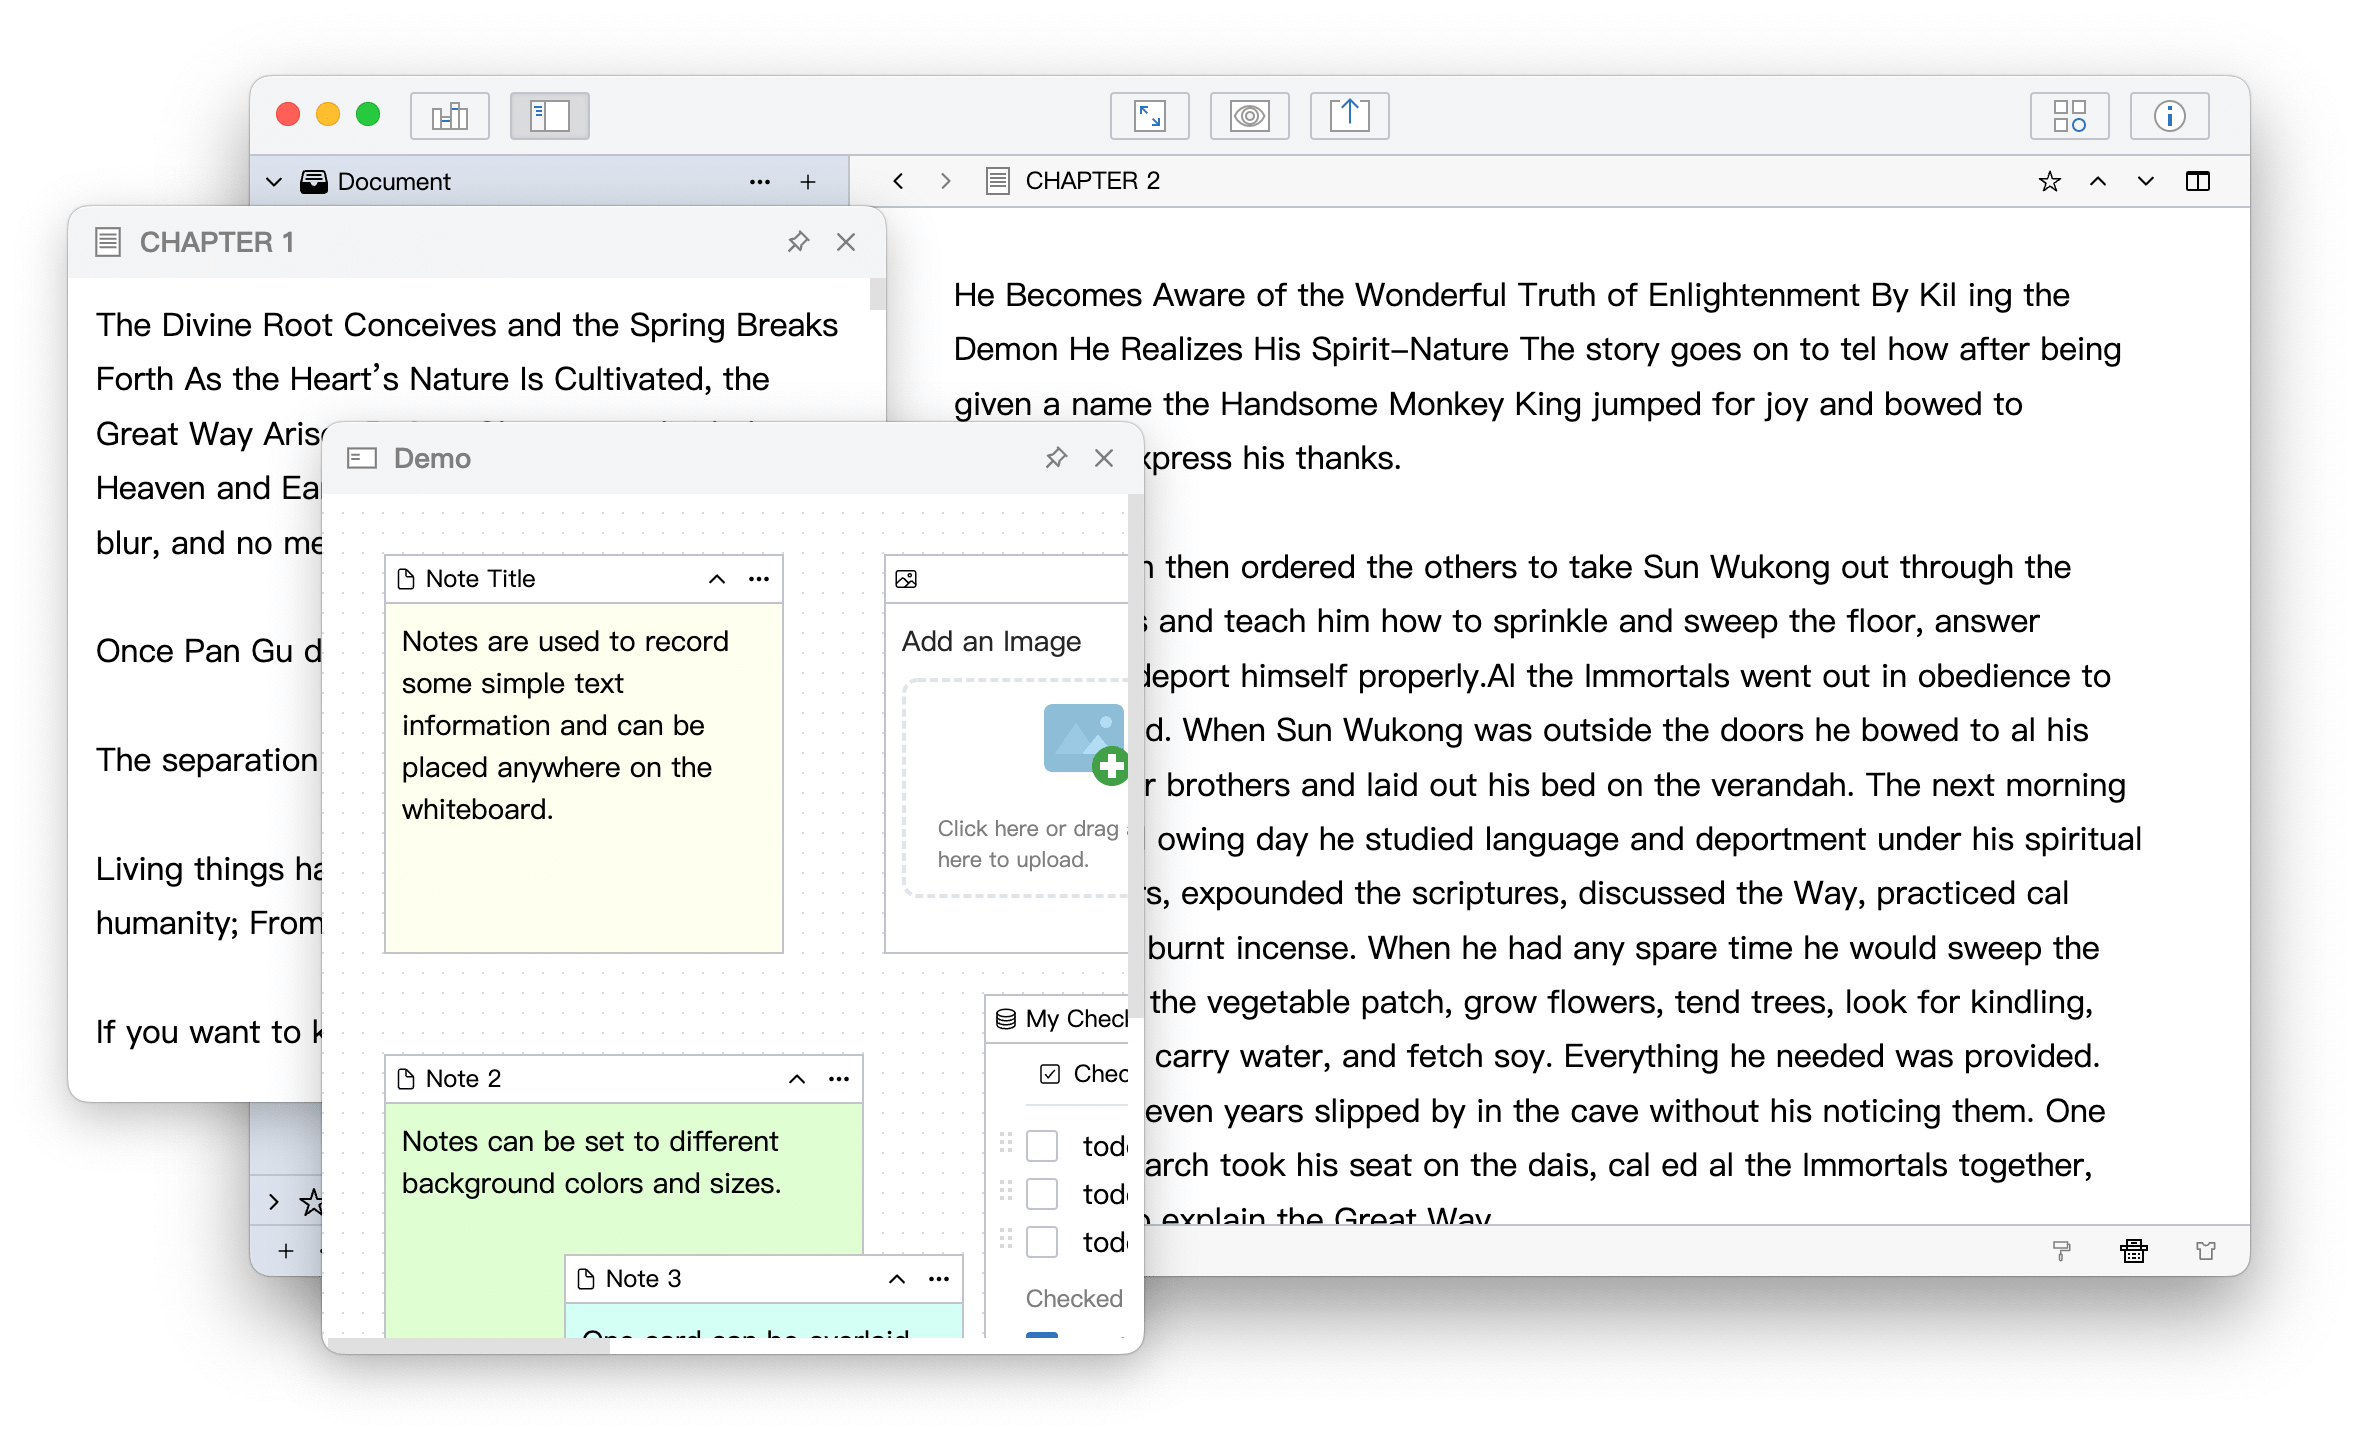
You can open multiple floating windows at the same time, or even open a whiteboard for easy reference while writing:
Adjust the Style
Move the mouse to the T-shirt icon in the lower right corner of the editor, and the editor style setting panel will pop up, as shown in the following figure:
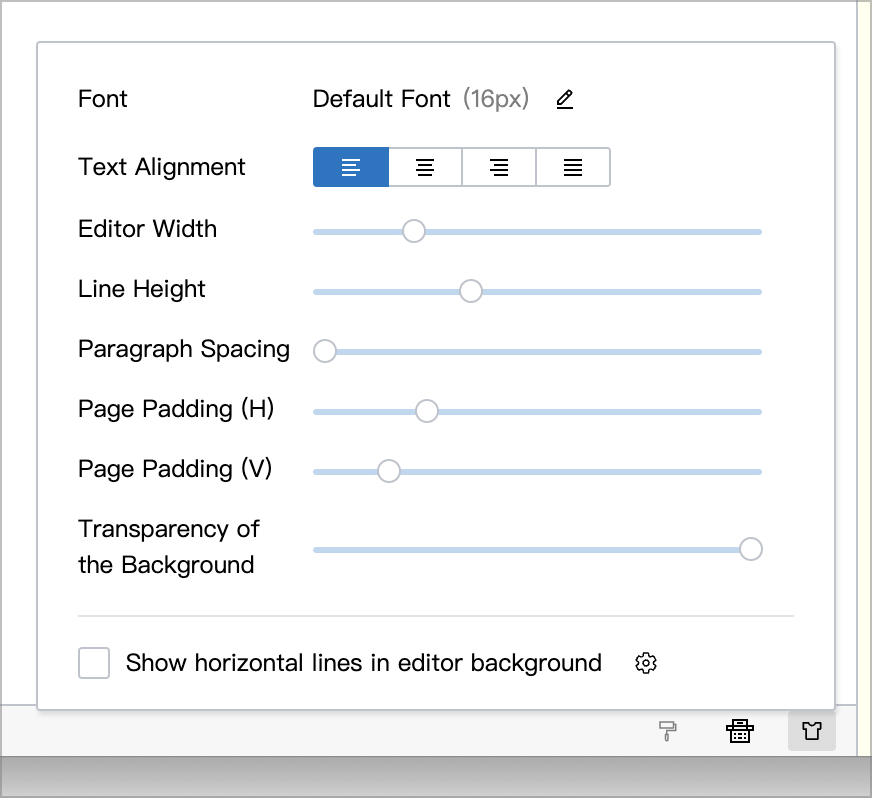
In this panel, you can adjust the editor's font, line height, margin and other styles to make the editor more in line with your habits.
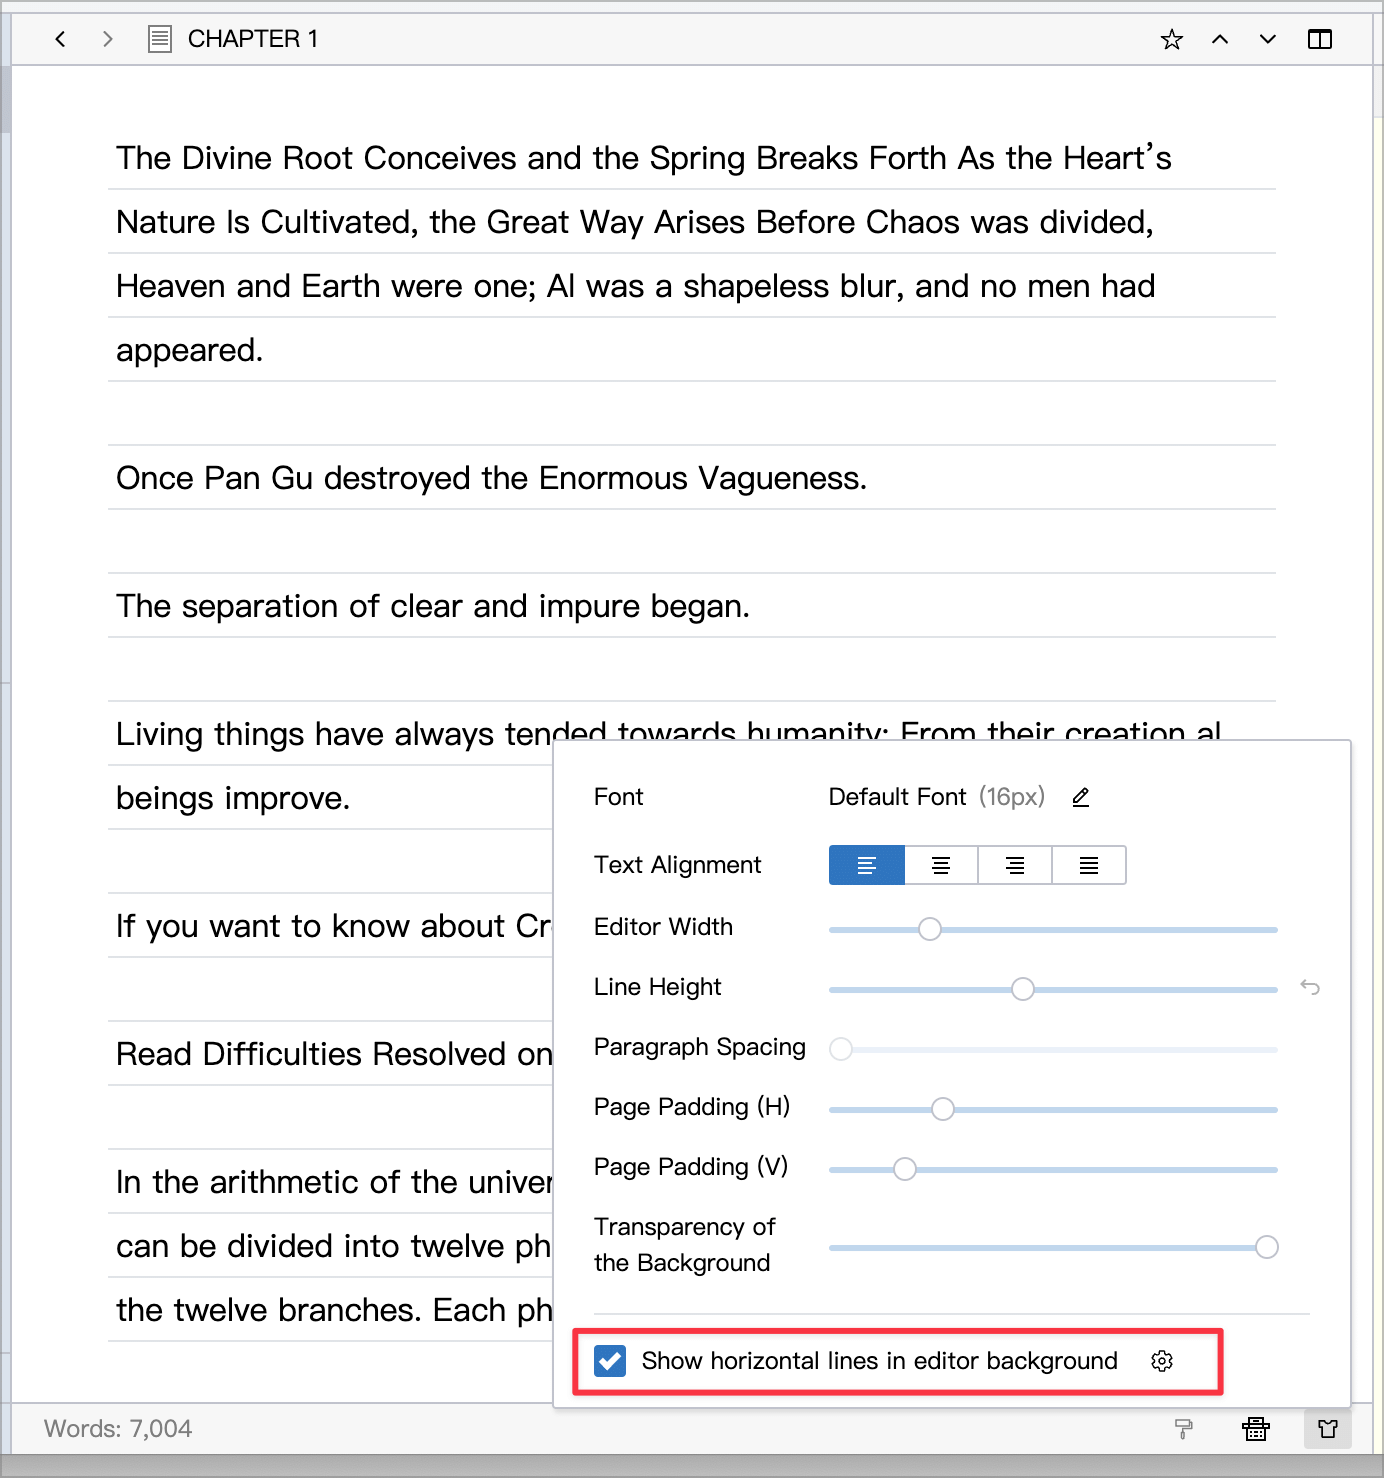
You can also add a horizontal background to the editor, as shown above. It should be noted that when adding a horizontal line background, it is usually necessary to adjust the Line Height slightly larger, otherwise the text may look a little crowded.
Split the Editor
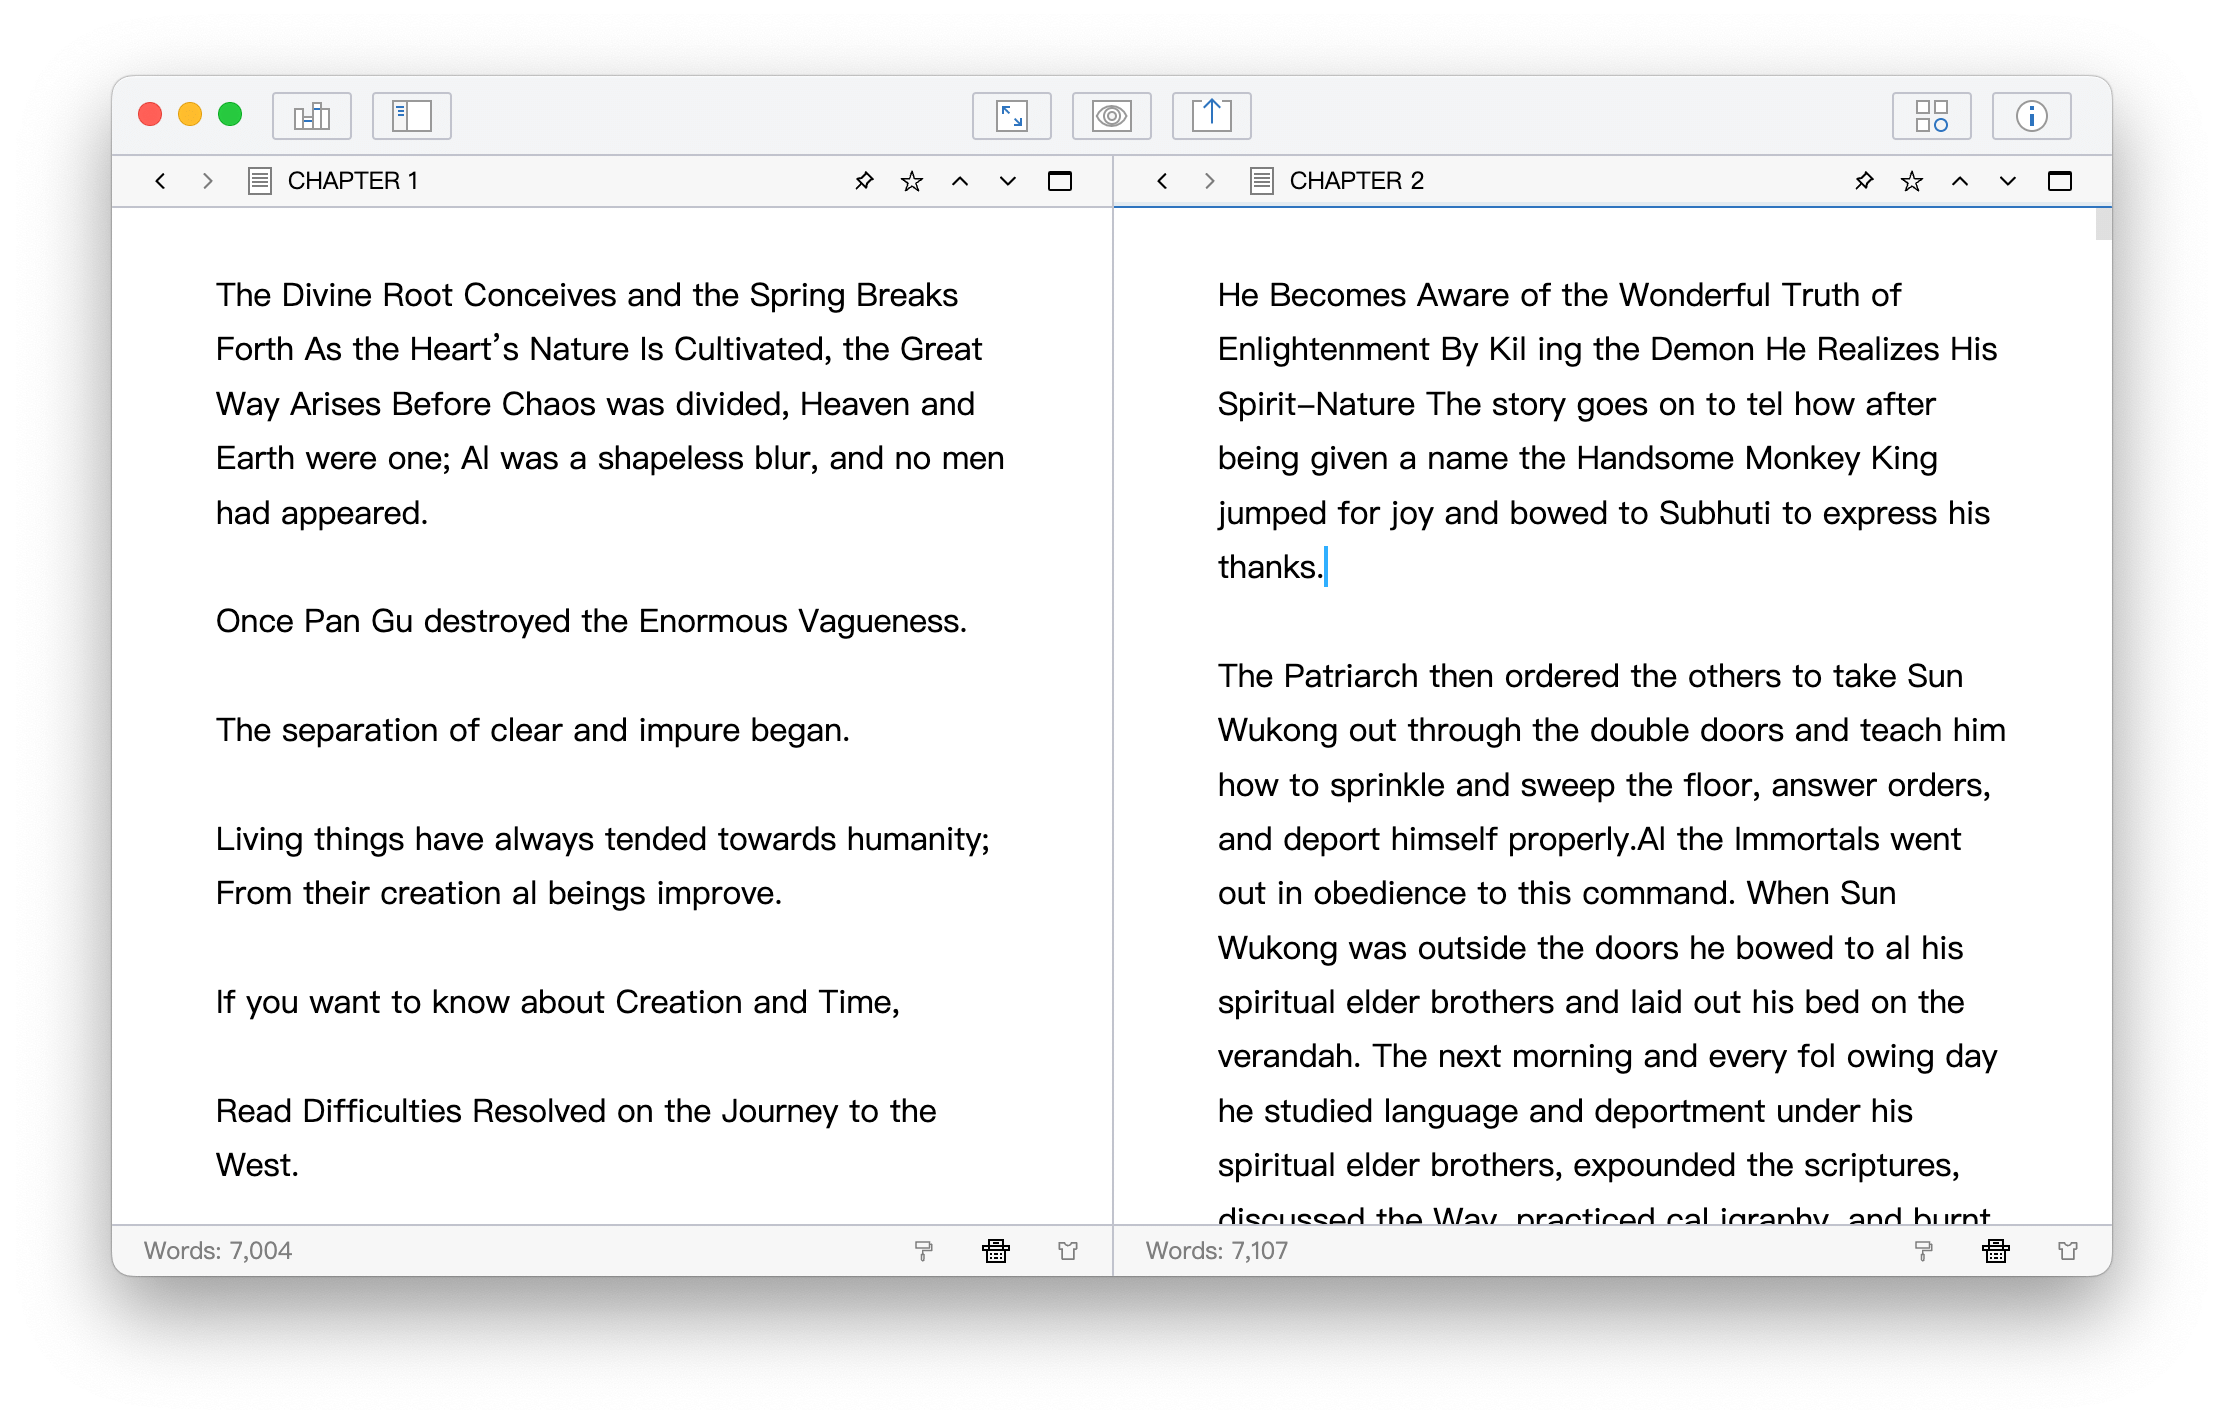
Sometimes, when we write, we need to refer to another document in the directory tree, or another part of the current document, or we need to refer to some information in the whiteboard, then we can split the editor to two parts.
Click the split icon in the upper right corner of the editor, or use the shortcut Shift + Ctrl + \ (Shift + ⌘ + \ for macOS), you can split the editor into two parts. The currently active editor toolbar will be highlighted.
Click the split icon again or press the shortcut key to close the inactive editor and return to the normal state.
In the editor split state, one of the editors can be set as pinned, as shown in the following figure:
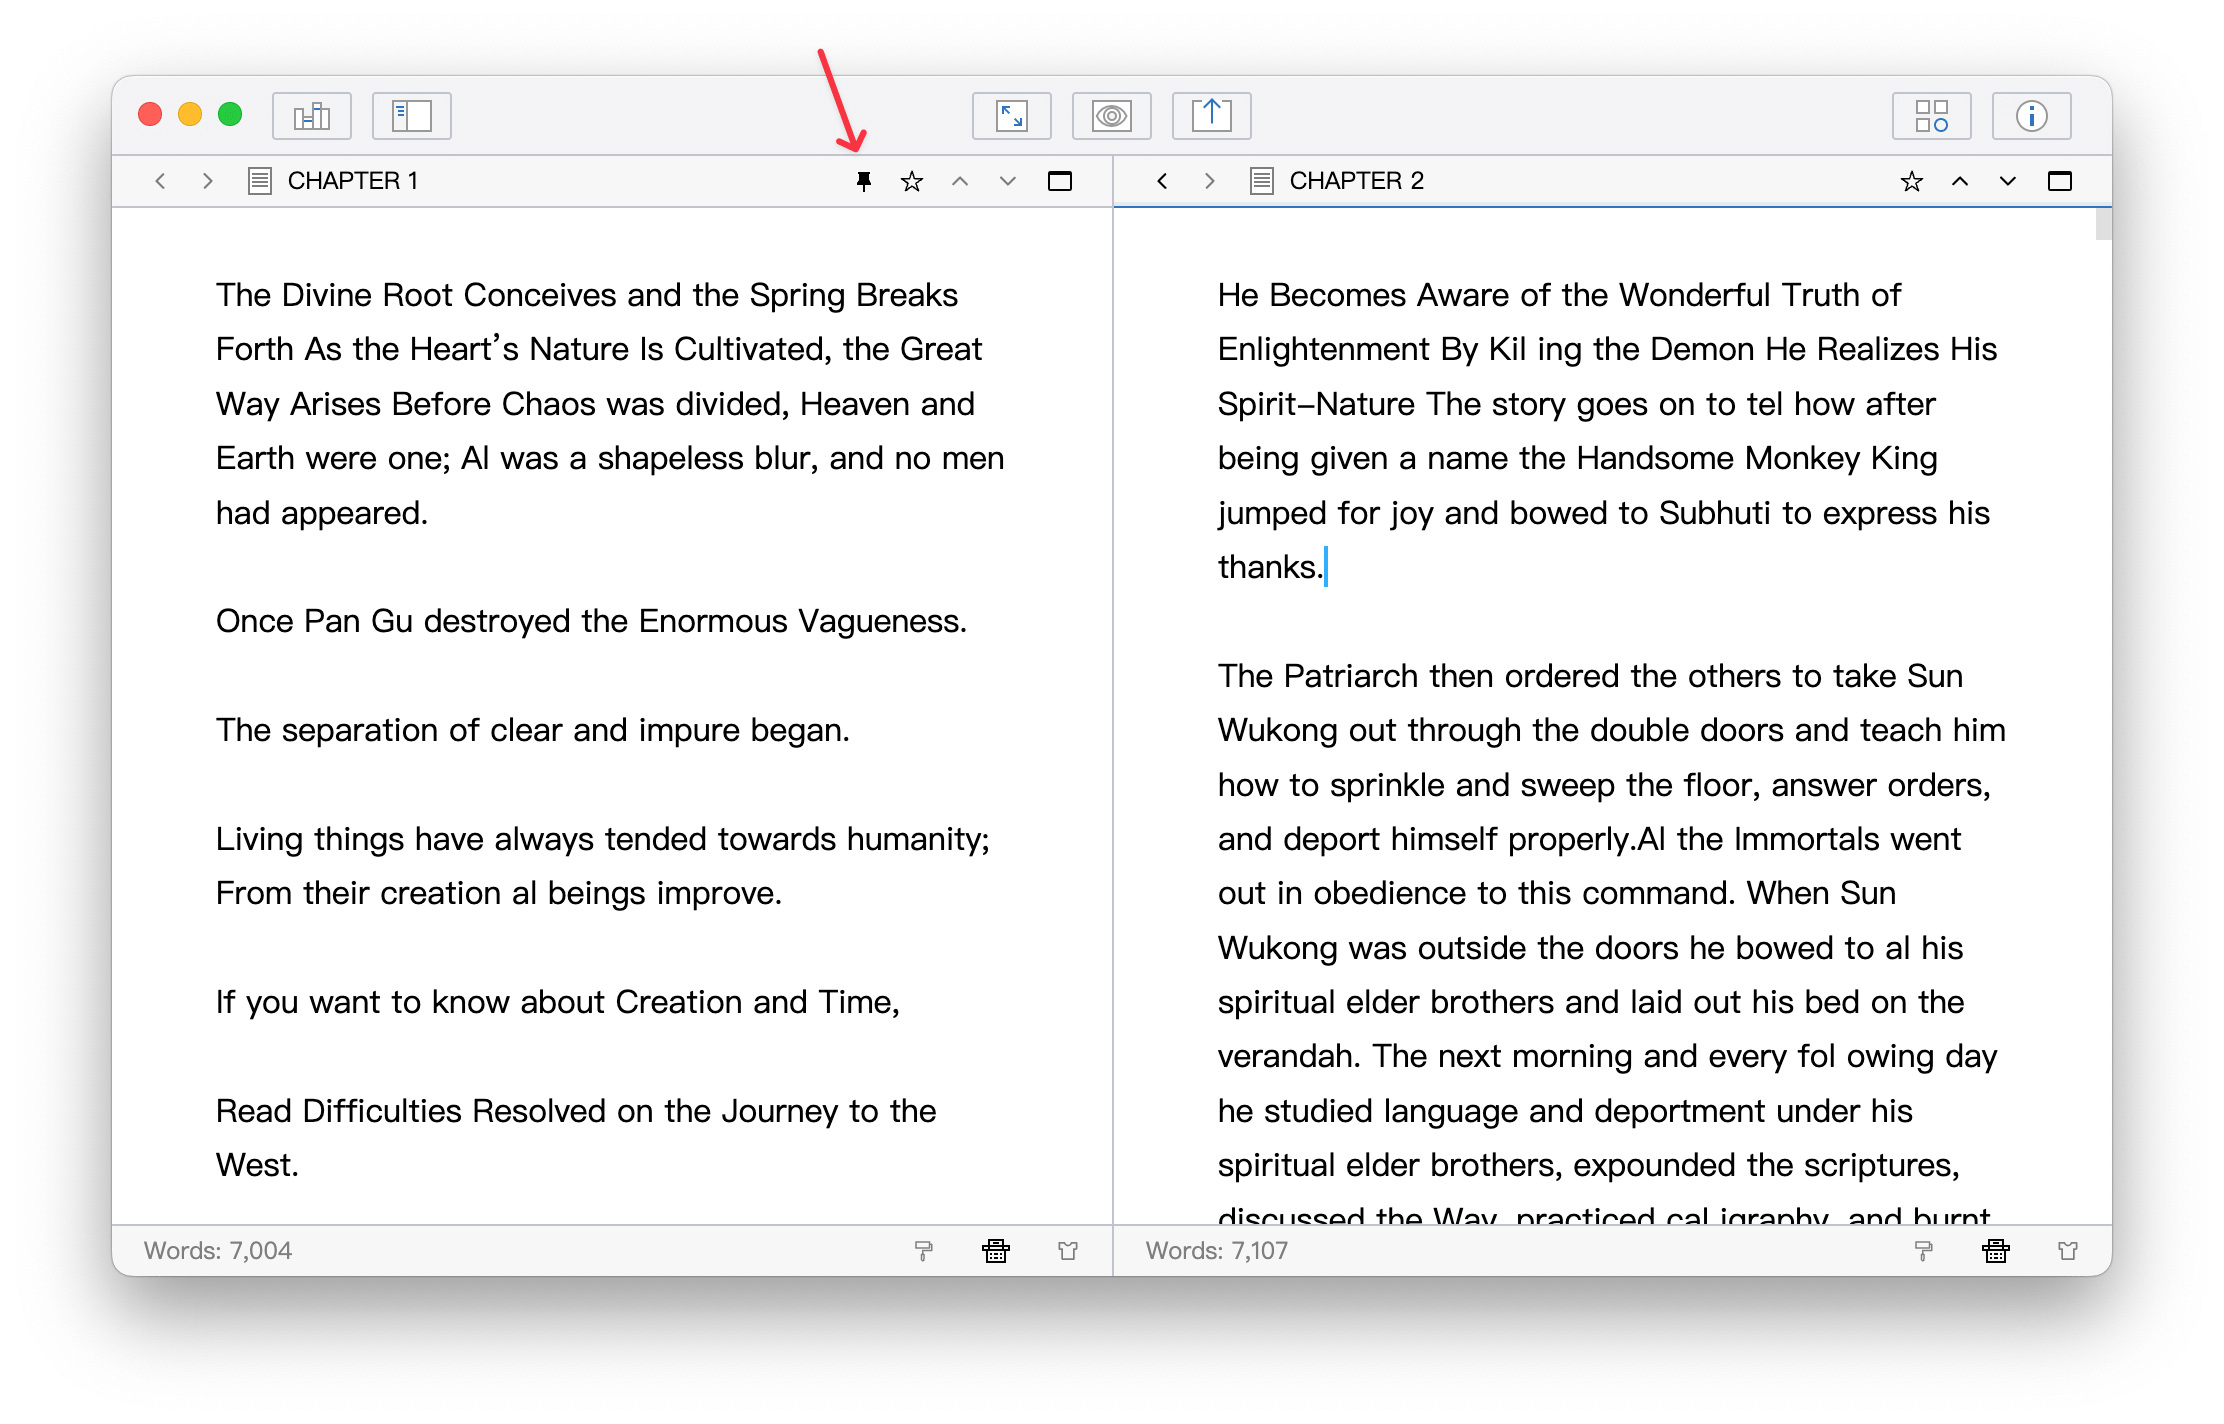
Only one editor can be pinned at a time, and the pinned editor will not change with switching documents, but will always keep the current content for easy reference when writing.