Organize
Long-form works are inseparable from chapter division and directory organization. With WonderPen, you can organize your documents intuitively, and you can handle long-form writing with ease.
Use Directory Tree
Chapter order and hierarchy can be easily adjusted through the directory tree on the left panel of WonderPen.
Right-click on the document node of the directory, and the context menu will pop up, as shown in the following figure:
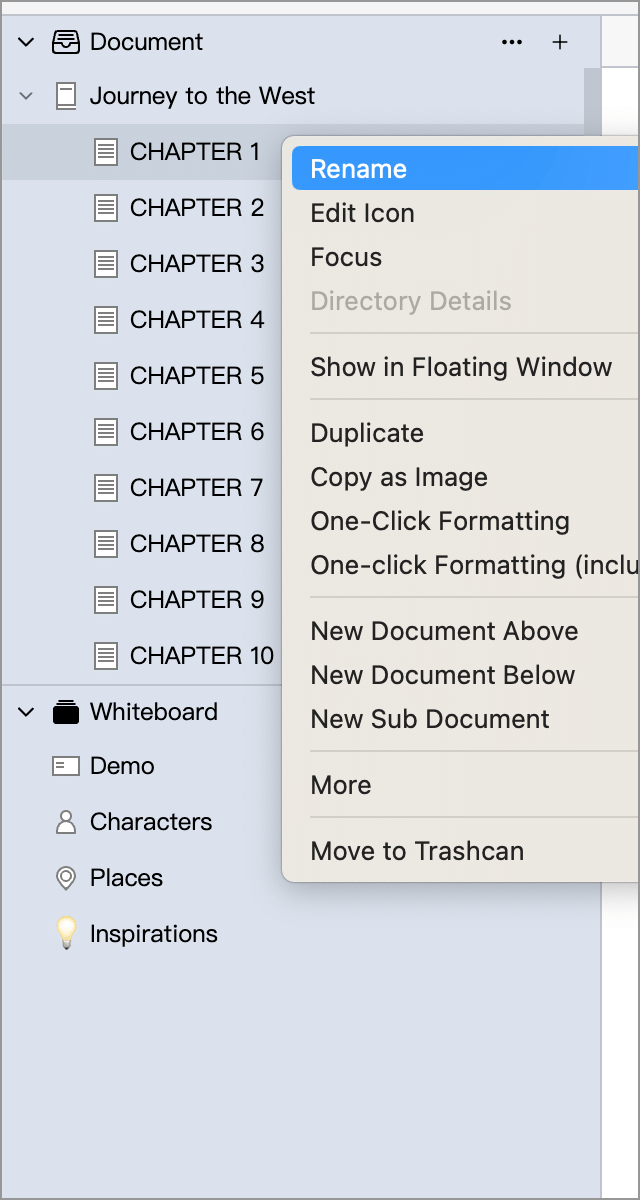
In the menu, you can rename, indent, delete, etc. the document node, you can also create a new document below it, or create a subdocument for it.
In addition, you can also use drag and drop to organize the document node hierarchy, as shown in the animation below:
While clicking on a node, you can hold down the Shift or Ctrl (⌘ on macOS) keys to select multiple documents at once. Note that when multiple selections are made, only documents at the same level can be selected at the same time.
You can also view the directory contents of the current node through the Directory Details option in the right-click menu of the node.
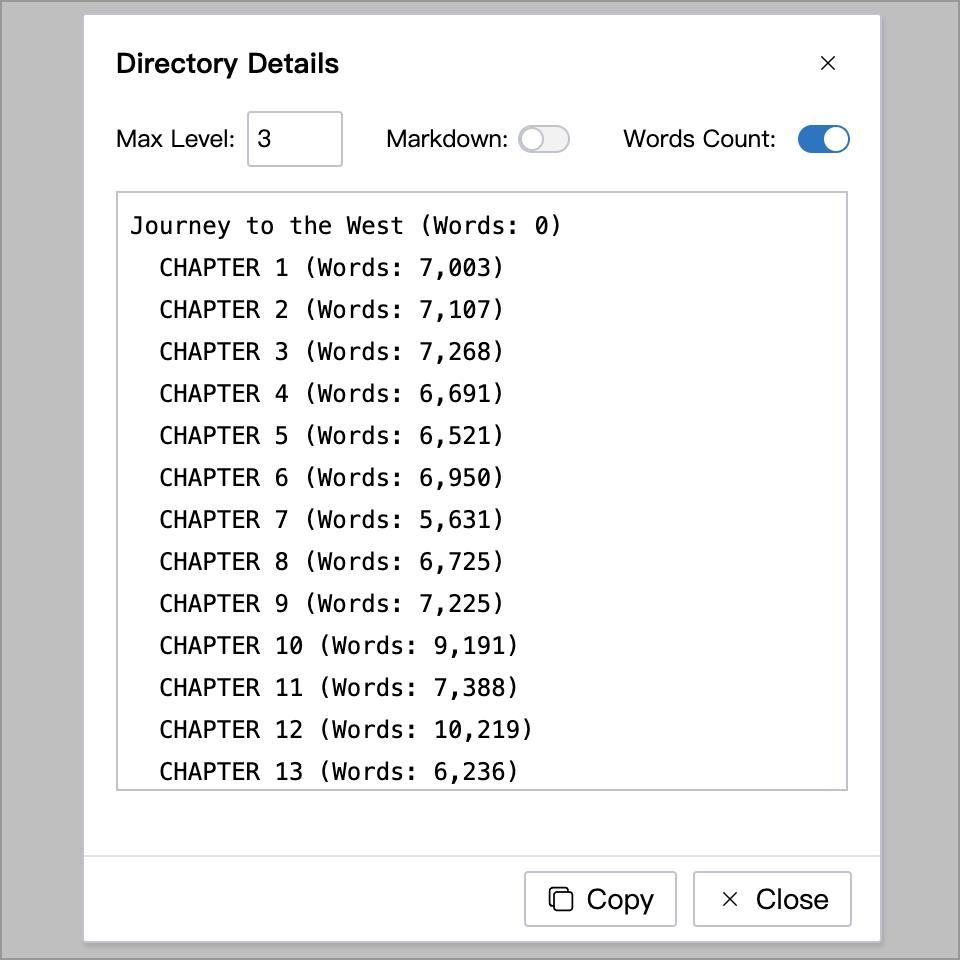
The directory details include the main information (title, word count) of the currently selected node and its child nodes. When you write a long-length book and need to share your outline with editors and friends, you can view and copy the directory tree here.
Set Icon
Right-click on the document node to change the icon of the document, as shown in the following figure:
You can choose the appropriate icon for it according to the document type or content to make it easier to view.
In addition to classic icons, WonderPen also supports Emoji icons, as shown below:
Delete Document
To delete a document or document, right-click on the document node and select Delete. Or select the document you want to delete, and press the Ctrl + Delete keys (⌘ + Backspace for macOS) on the keyboard.
If you delete a file by mistake, you can click the Trashcan icon below the directory tree list on the left to enter the Recycle Bin for recovery.
Split Document
If your document is too long, you can split it into two chapters.
Operation
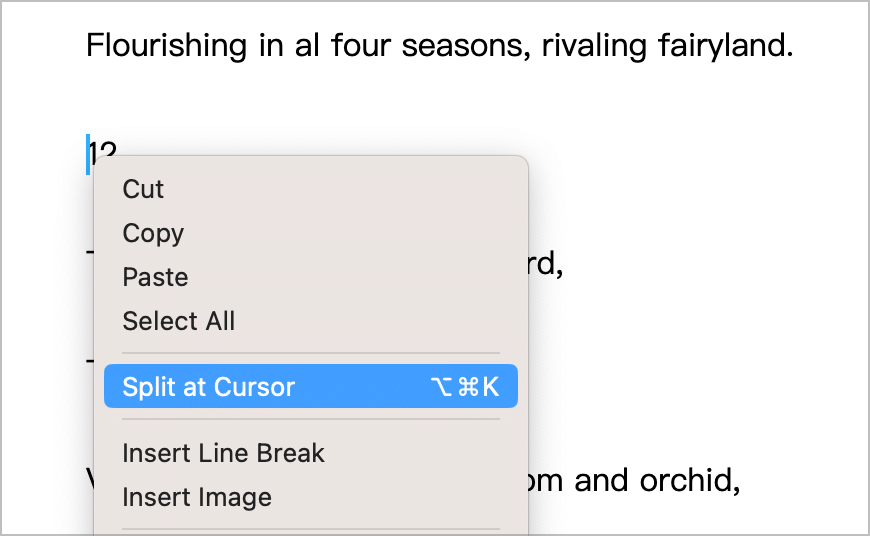
To split a document, just right-click in the editor and select Split at Cursor, as shown in the following figure:
You can also select a piece of text and right-click. At this time, you can Split with Selection as Title, as shown in the following figure:
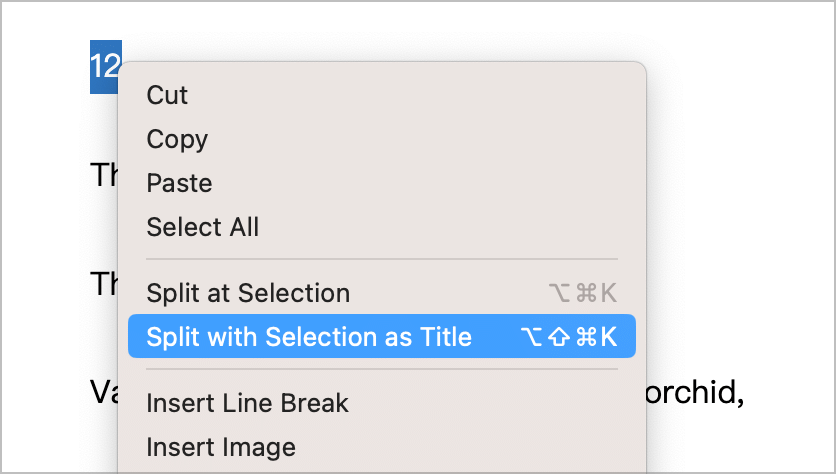
When the chapter is divided, the document will be divided into two parts from the cursor (or the beginning of the selected content), the former part will remain in the original document, and the latter part (including the selected content) will be the content of the new document, the title of the new document will be the selected content.
Cursor Position
When dividing an article, sometimes you may need to know the position of the cursor, such as how many characters are in front of the cursor and how many characters are in the whole article, so as to control the length of the new chapter when dividing. Then the function of displaying the cursor position will be useful.
The cursor position is hidden by default and can be opened in the word count panel at the bottom left of the editor, as shown in the following figure:
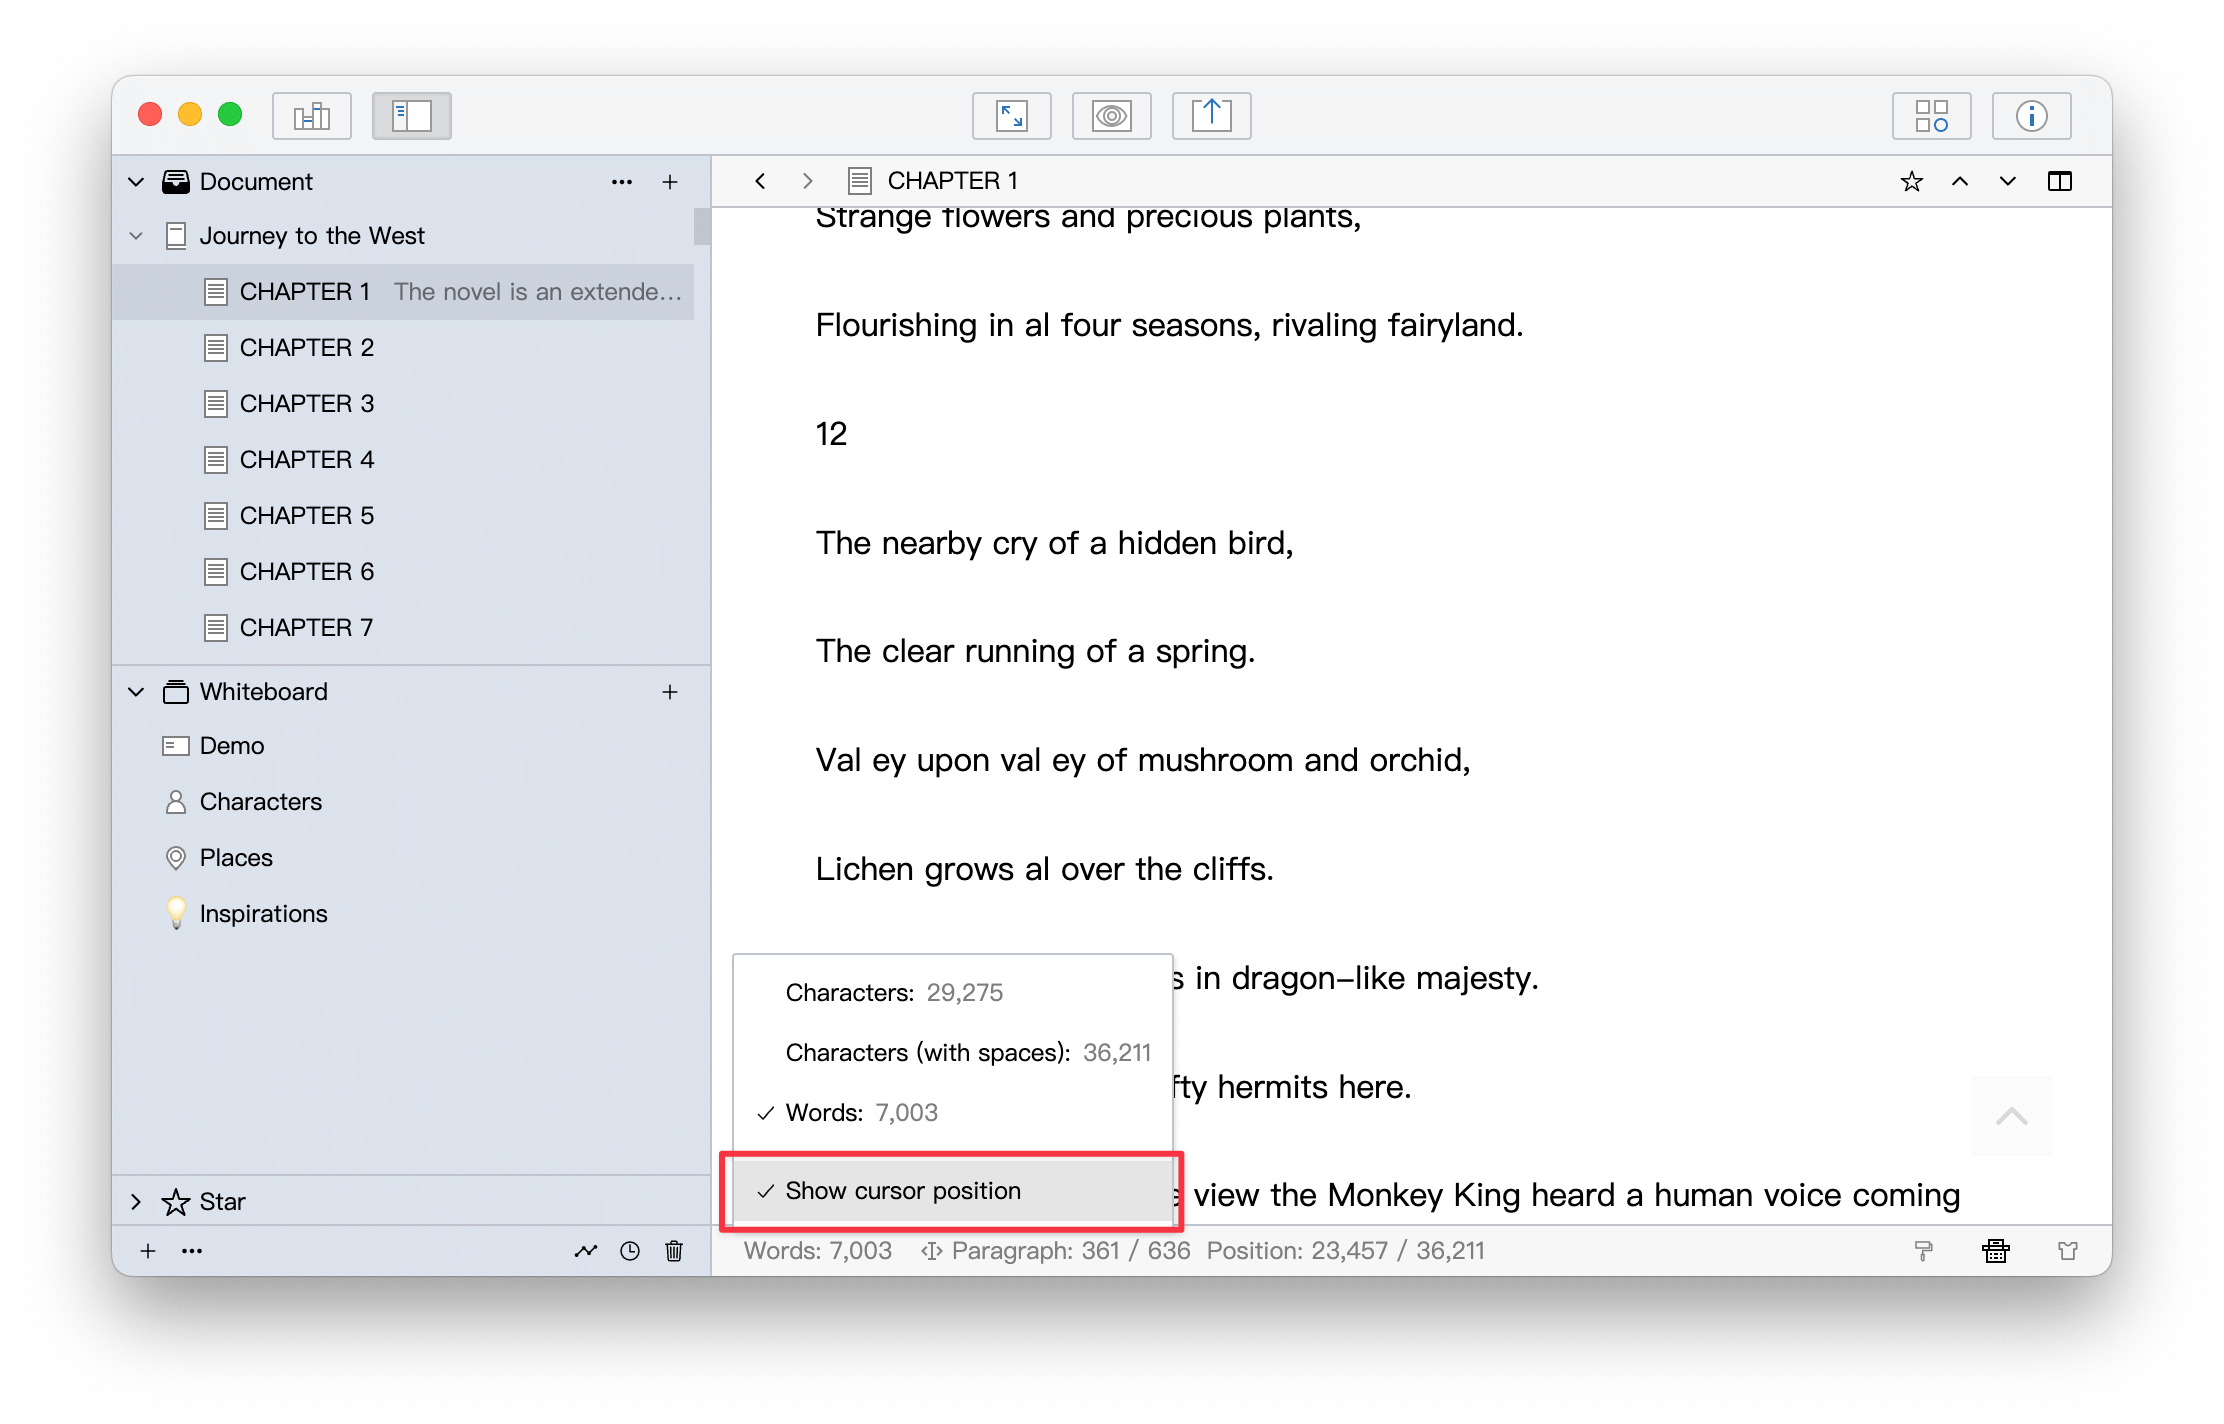
After turning on Show cursor position, you can see something like Paragraph: 361 / 636 Position: 23,457 / 36,211 in the editor status bar section. The Paragraph represents the paragraph number / total number of paragraphs where the cursor is currently located, including empty paragraphs (empty lines); the Position represents number of characters before the cursor / total number of characters.
Merge Documents
You can also merge two or more documents into a single one as needed.
To merge documents, just select the documents you want to merge in the directory tree on the left panel, then right-click and select Merge Documents, as shown in the following figure:
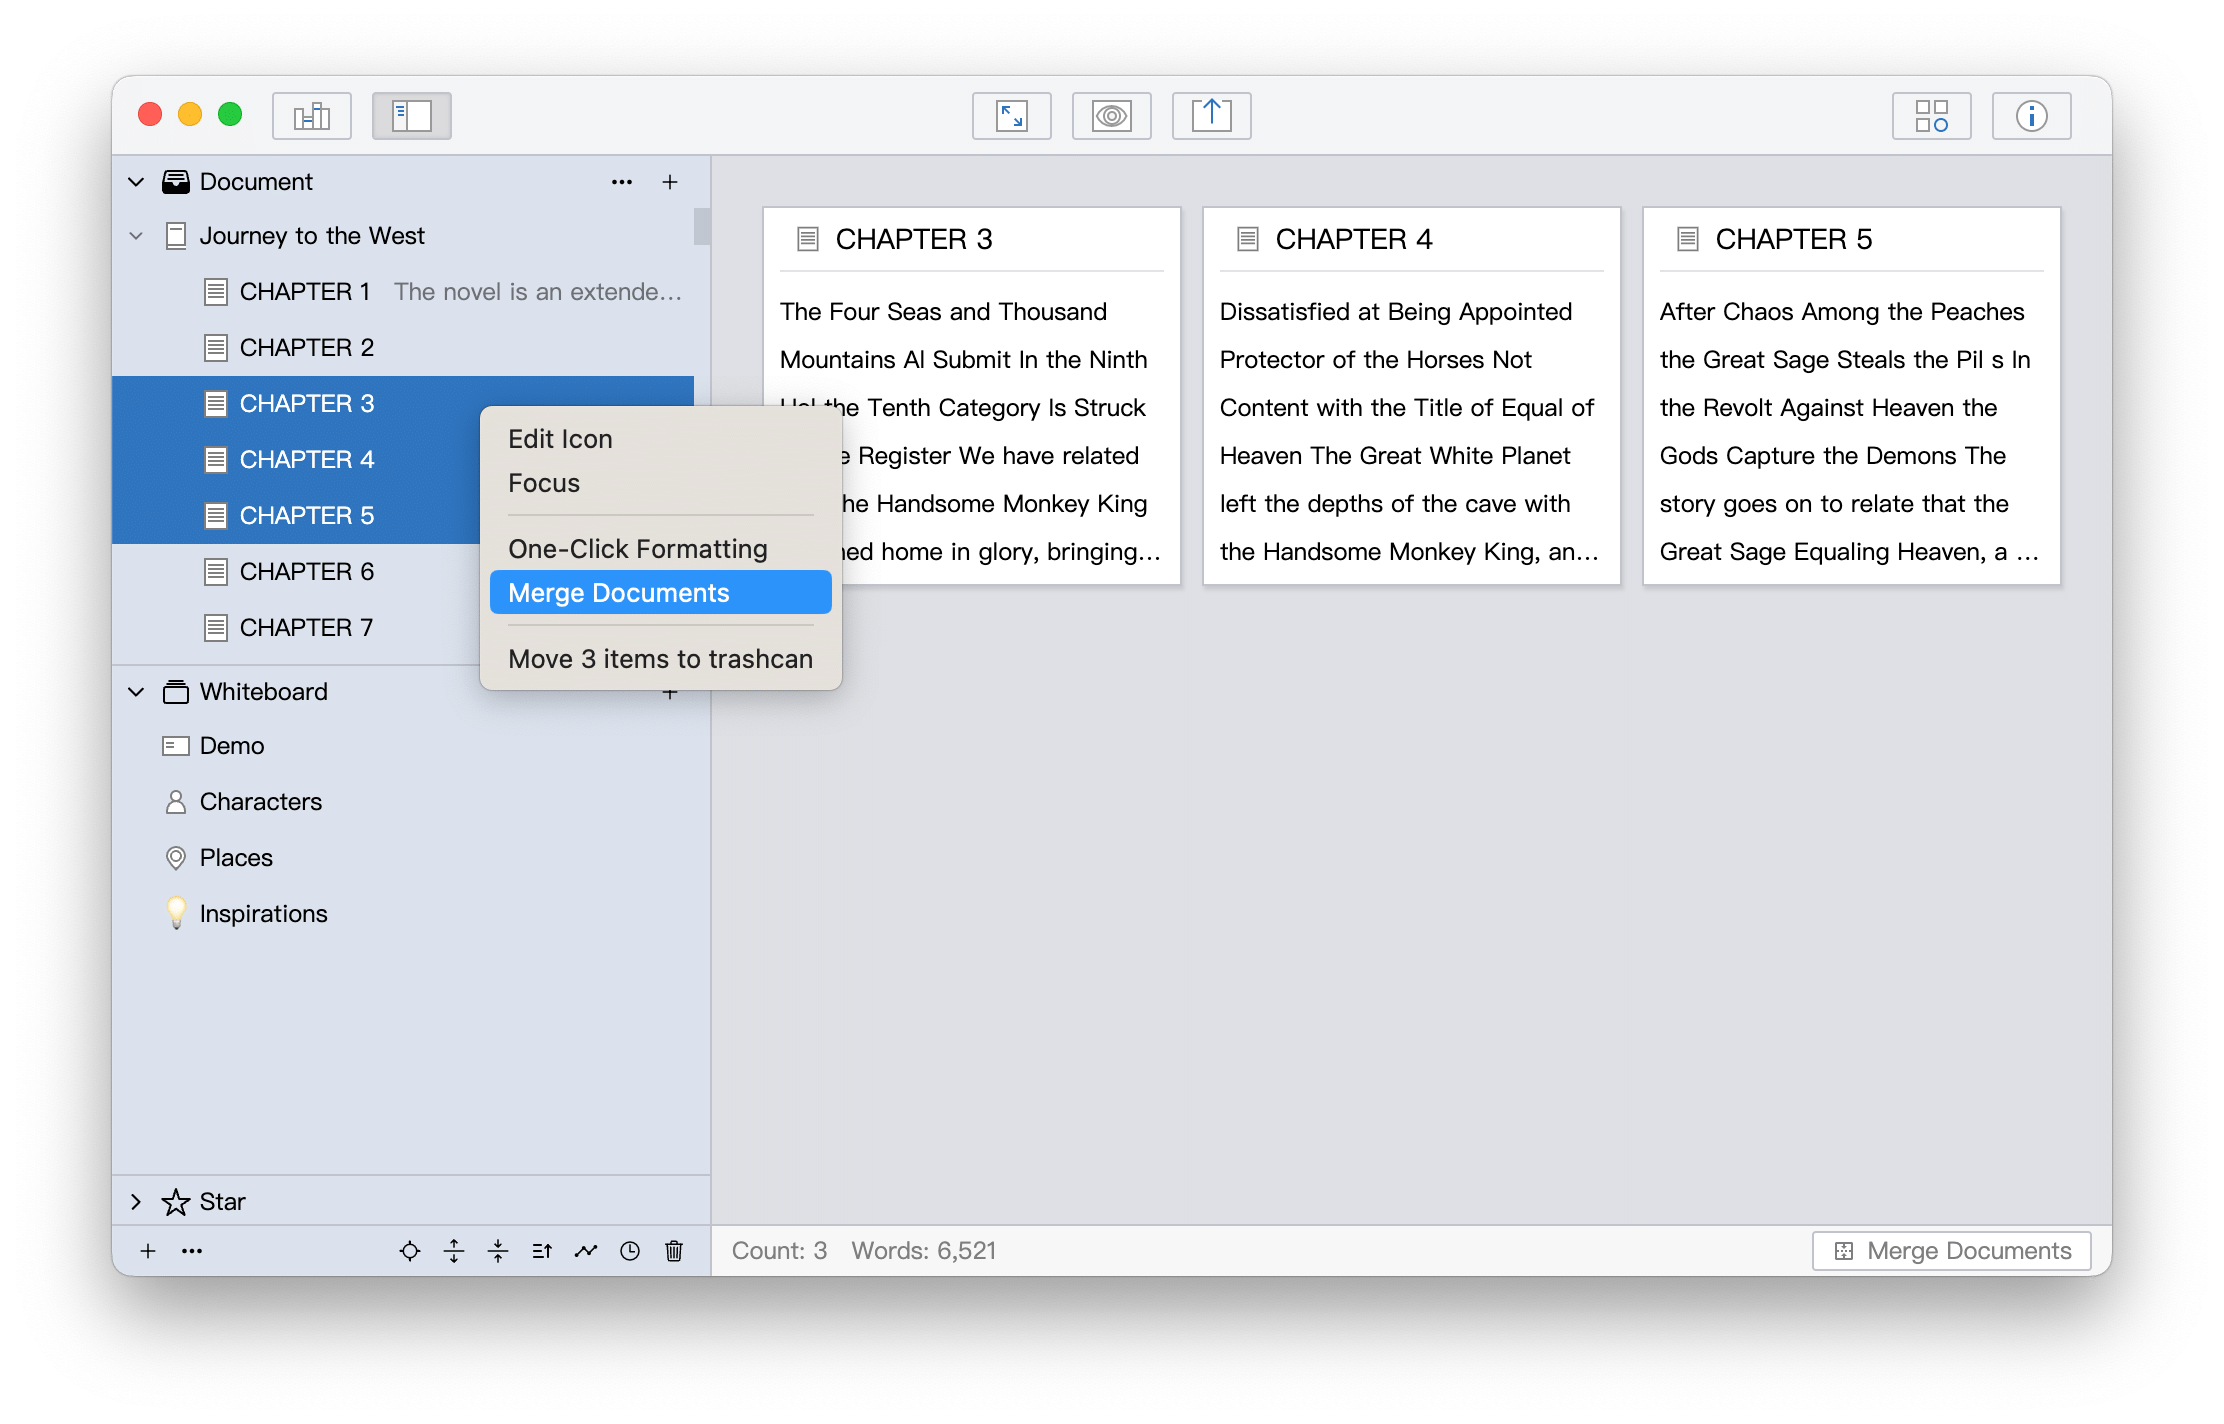
Merging documents does the following:
- Merge the contents of the selected documents and save them into the first document in the list of selected documents;
- Merge the comments of the selected documents and save them into the comments of the first document in the list of selected documents;
- Move the selected documents except the first document to the trashcan.
By default, when documents are merged, two newlines are added between the two chapters before and after for clearer display. You can set how many line breaks you need in the options settings, as shown in the following image:
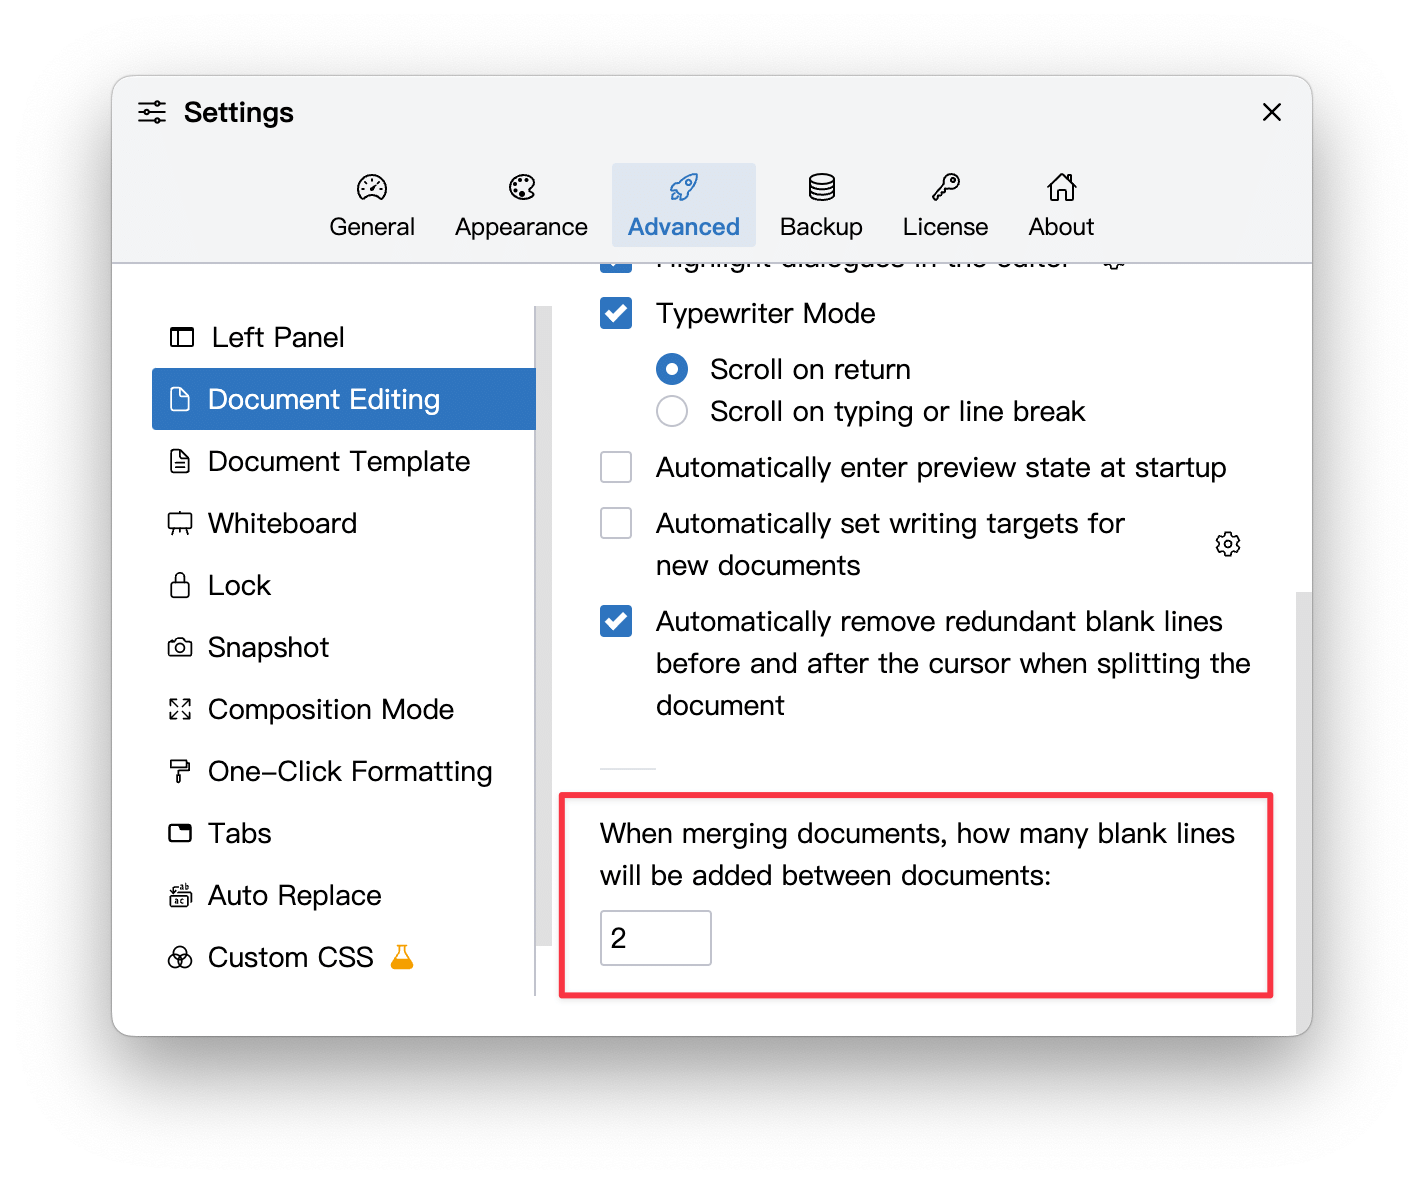
If you set the number of blank lines to 0, then when merging documents, the documents will be joined together without adding blank lines.