Settings
WonderPen provides a large number of personalization options, most of which adopt the nearest principle, that is, where you use it, set it nearby, such as word count related settings. However, there are also some setting items that do not have a suitable nearby location, so WonderPen also provides a special Settings panel.
General
The general settings panel looks like the image below:

The main options include:
Document library path
Click the underlined Library Path to open the folder where the library is located.Language
Currently supported languages are: English, Simplified Chinese.Automatically open the last edited library on startup
By default, when WonderPen starts, it will open the library selection interface, in which shows recently opened libraries. If you check this option, the last library will be opened automatically when it starts.
If you don't need to switch between multiple libraries frequently, you can check this to save some time.Show the toggle button for outline view in top bar
Whether to display the outline view switch button in the top bar, if you switch the outline view, you can select this to save some space.
The functions of the remaining options can be viewed in the text description on the interface.
Appearance
The Appearance Settings panel looks like the image below:
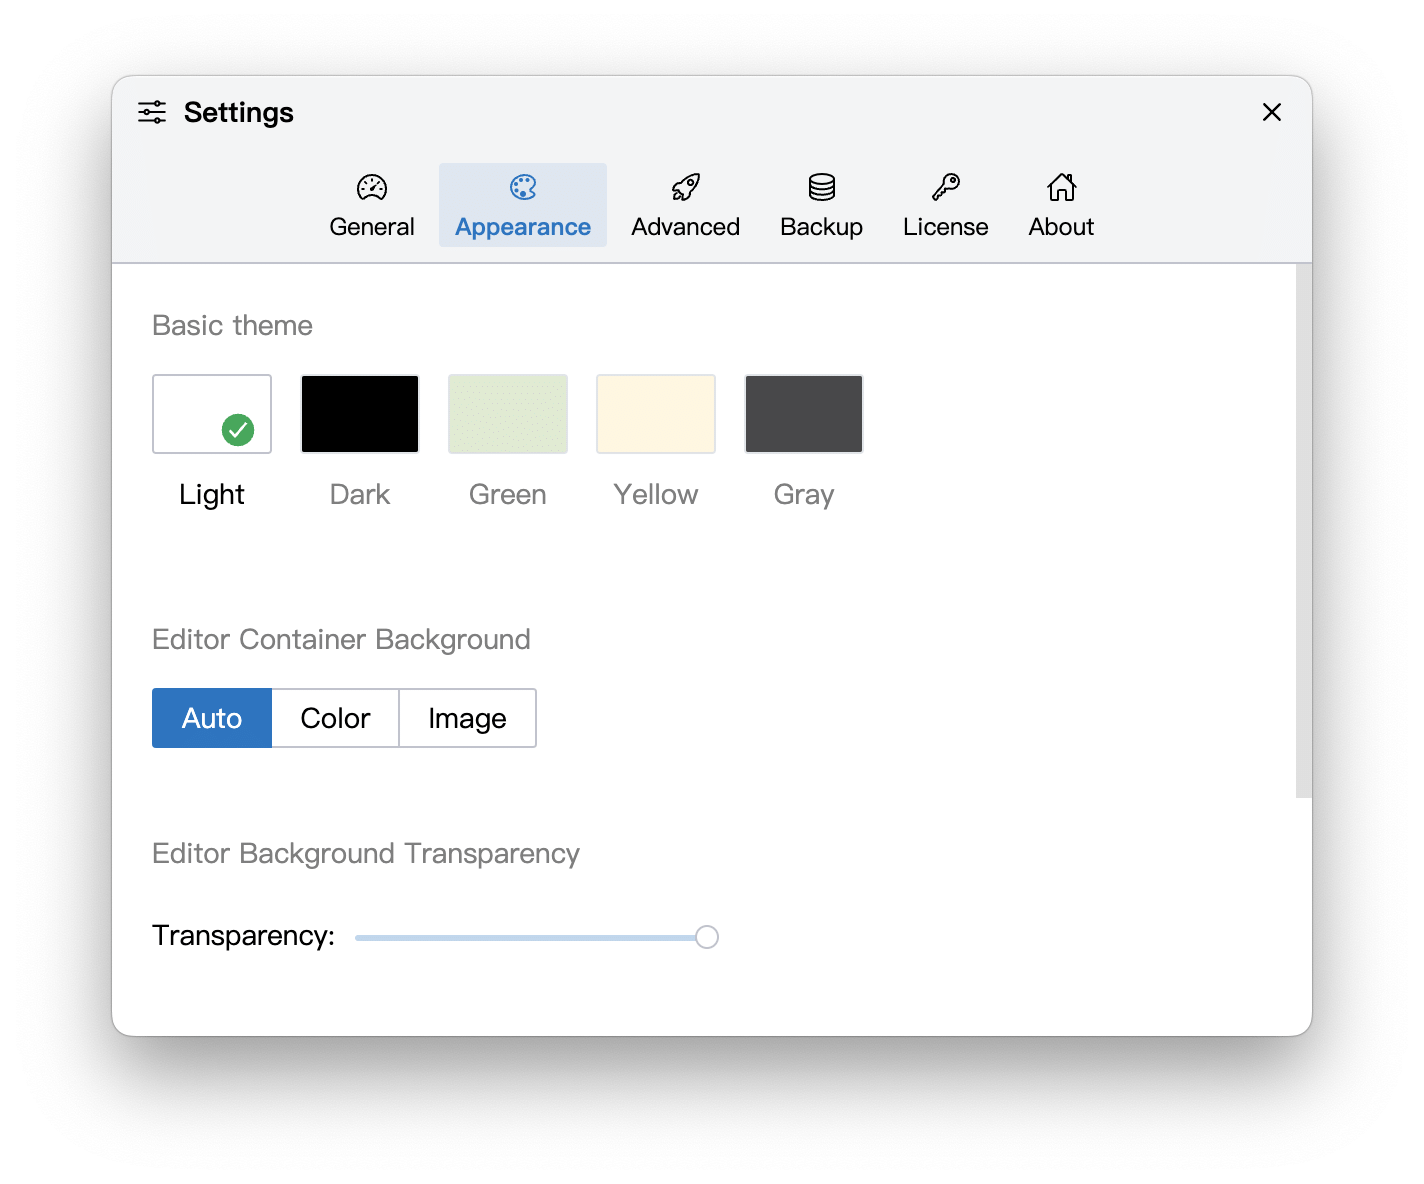
Here you can set the theme, editor background, interface, editor font, etc.
Themes
You can choose a theme here. Currently available themes are:
- Light
- Dark
- Green
- Yellow
- Gray
More themes will be added in the future, and you can also adjust or set your own themes through the custom CSS function.
Background of Editor
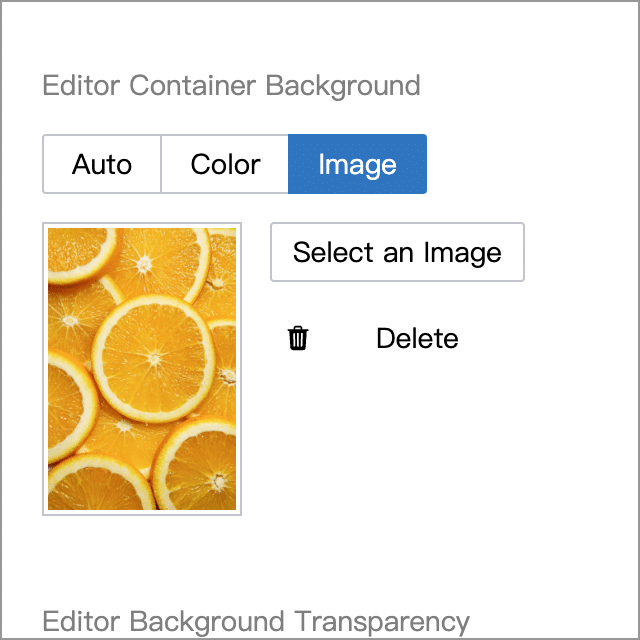
You can also set the background of the editor. The editor background defaults to Auto, i.e. the editor's background will automatically change depending on whether the theme is light mode or night mode. If you want to change the background of the editor, you can choose Color or Image.
As the name suggests, Color can adjust the background color of the editor, and Image can set the background image of the editor. Here is an example of a picture:
We selected an orange picture as the editor's background, and the effect is as follows:
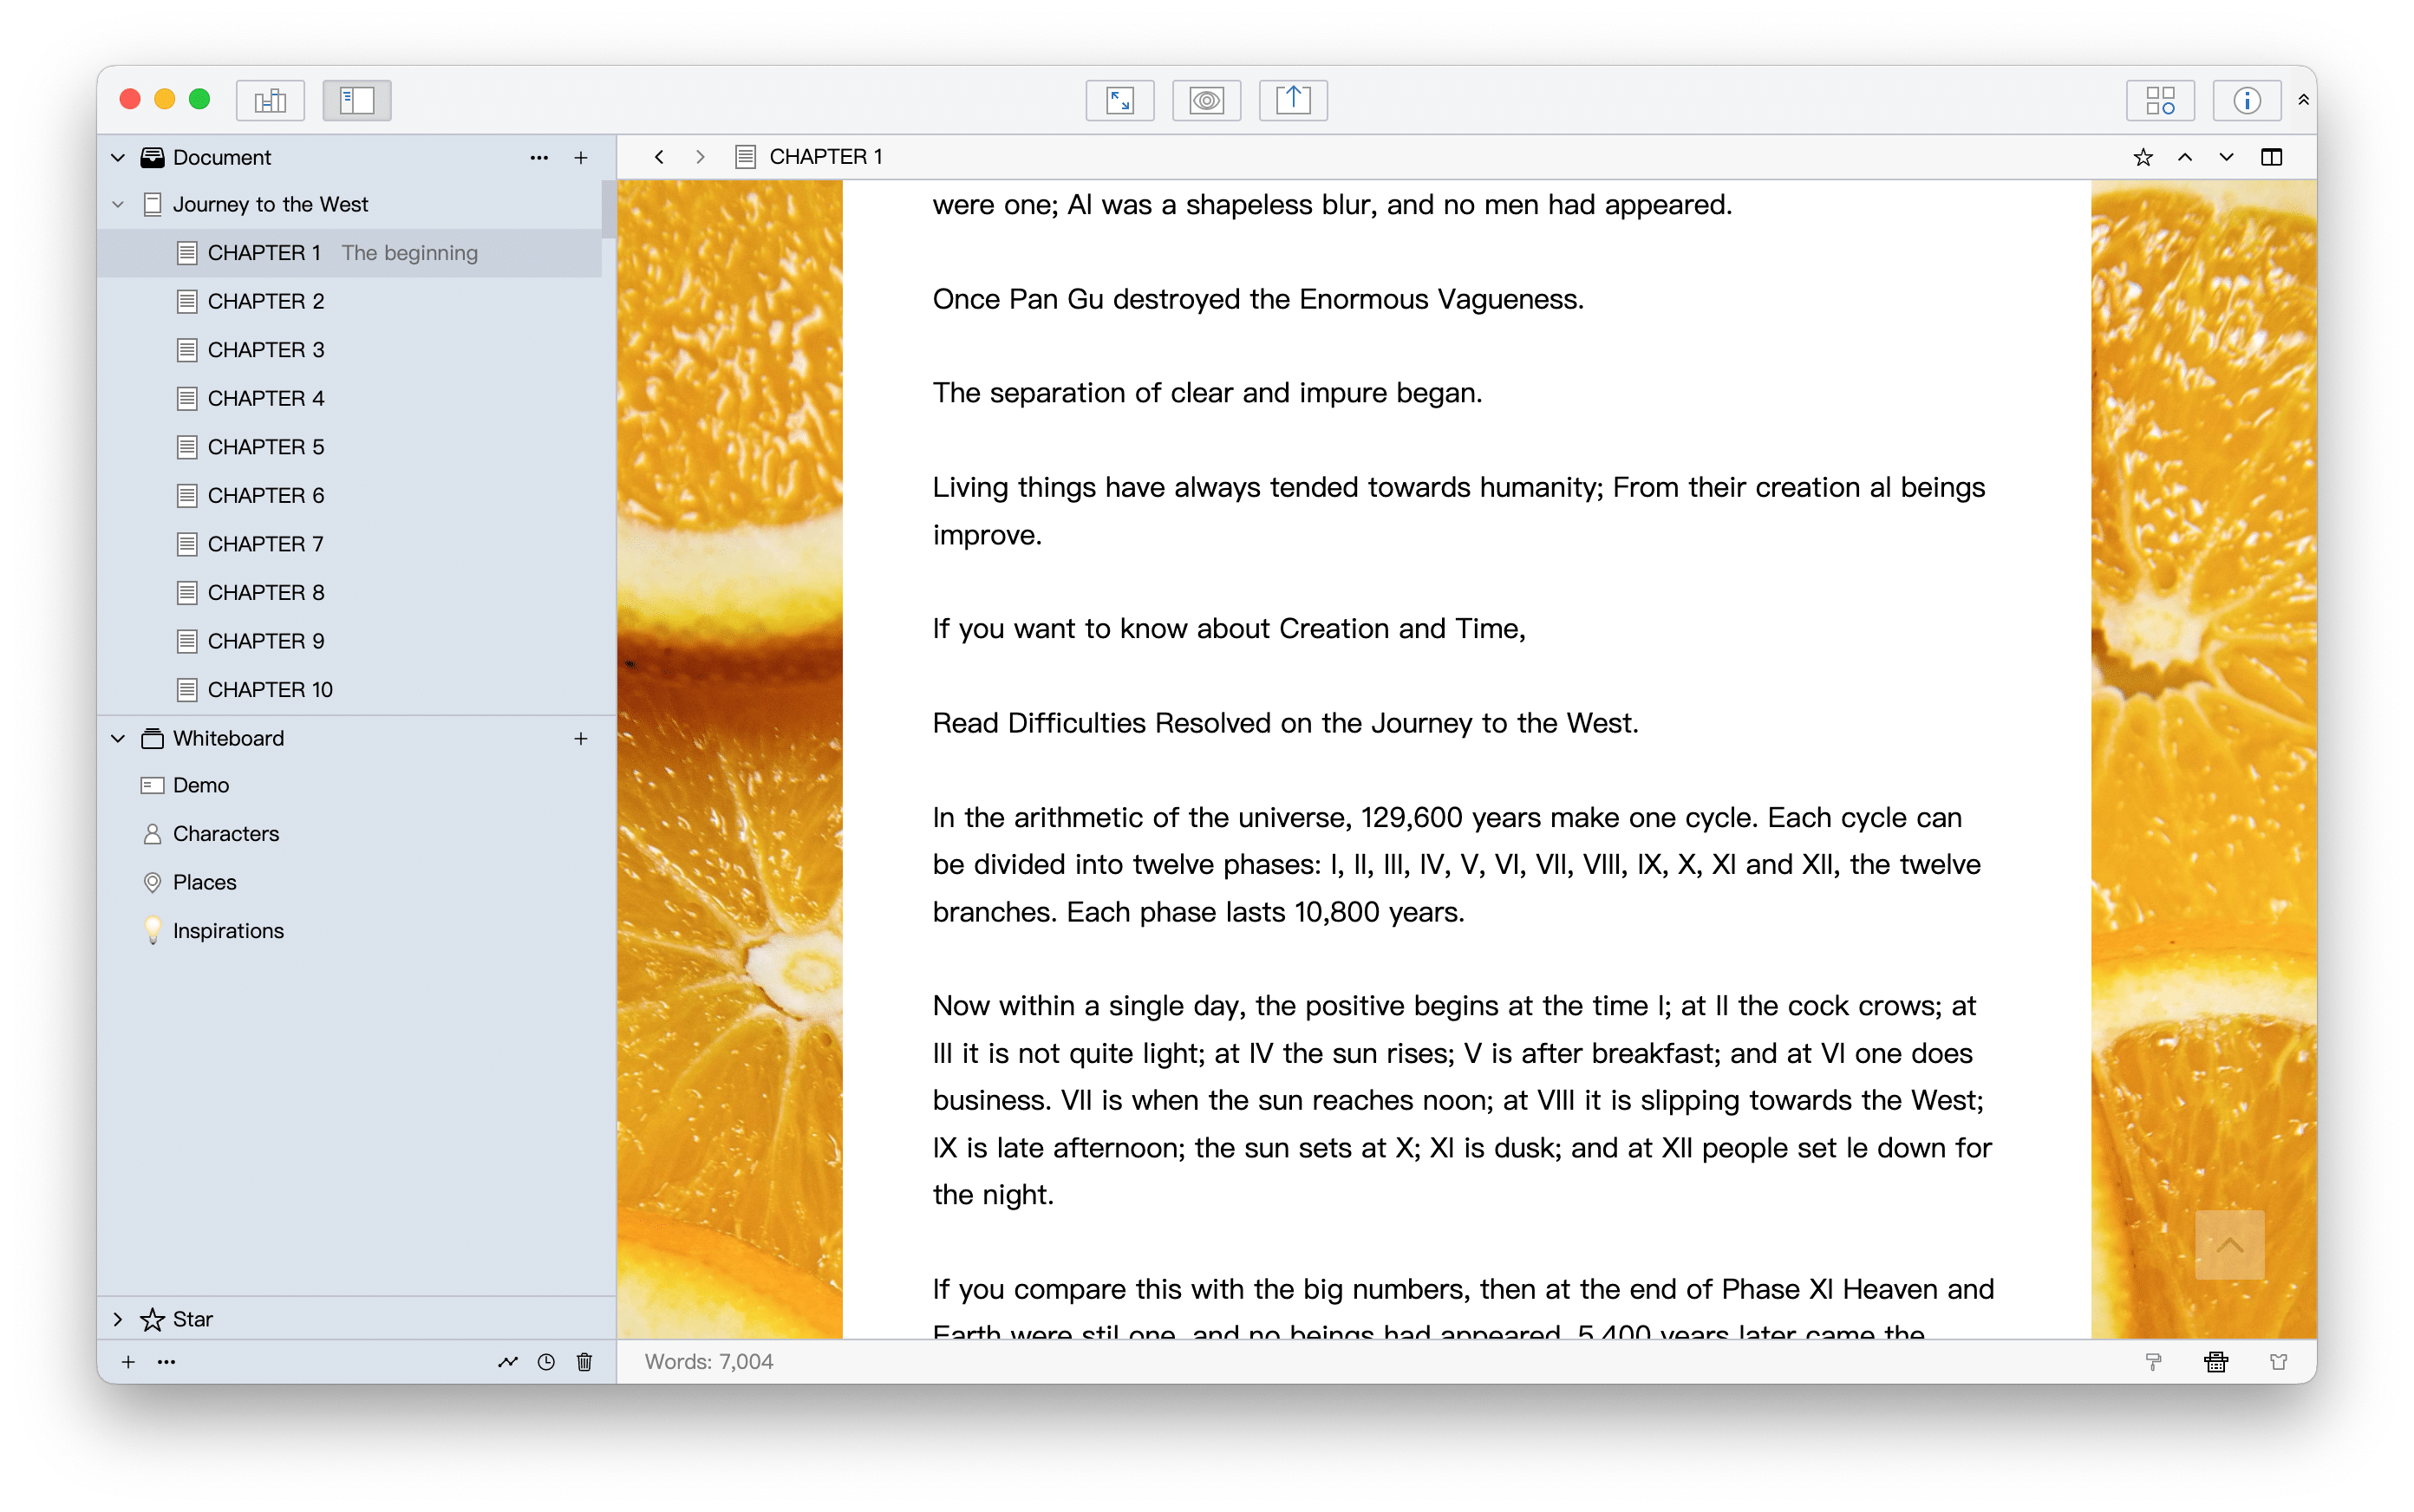
As you can see, all parts of the editor except the paper display the orange picture.
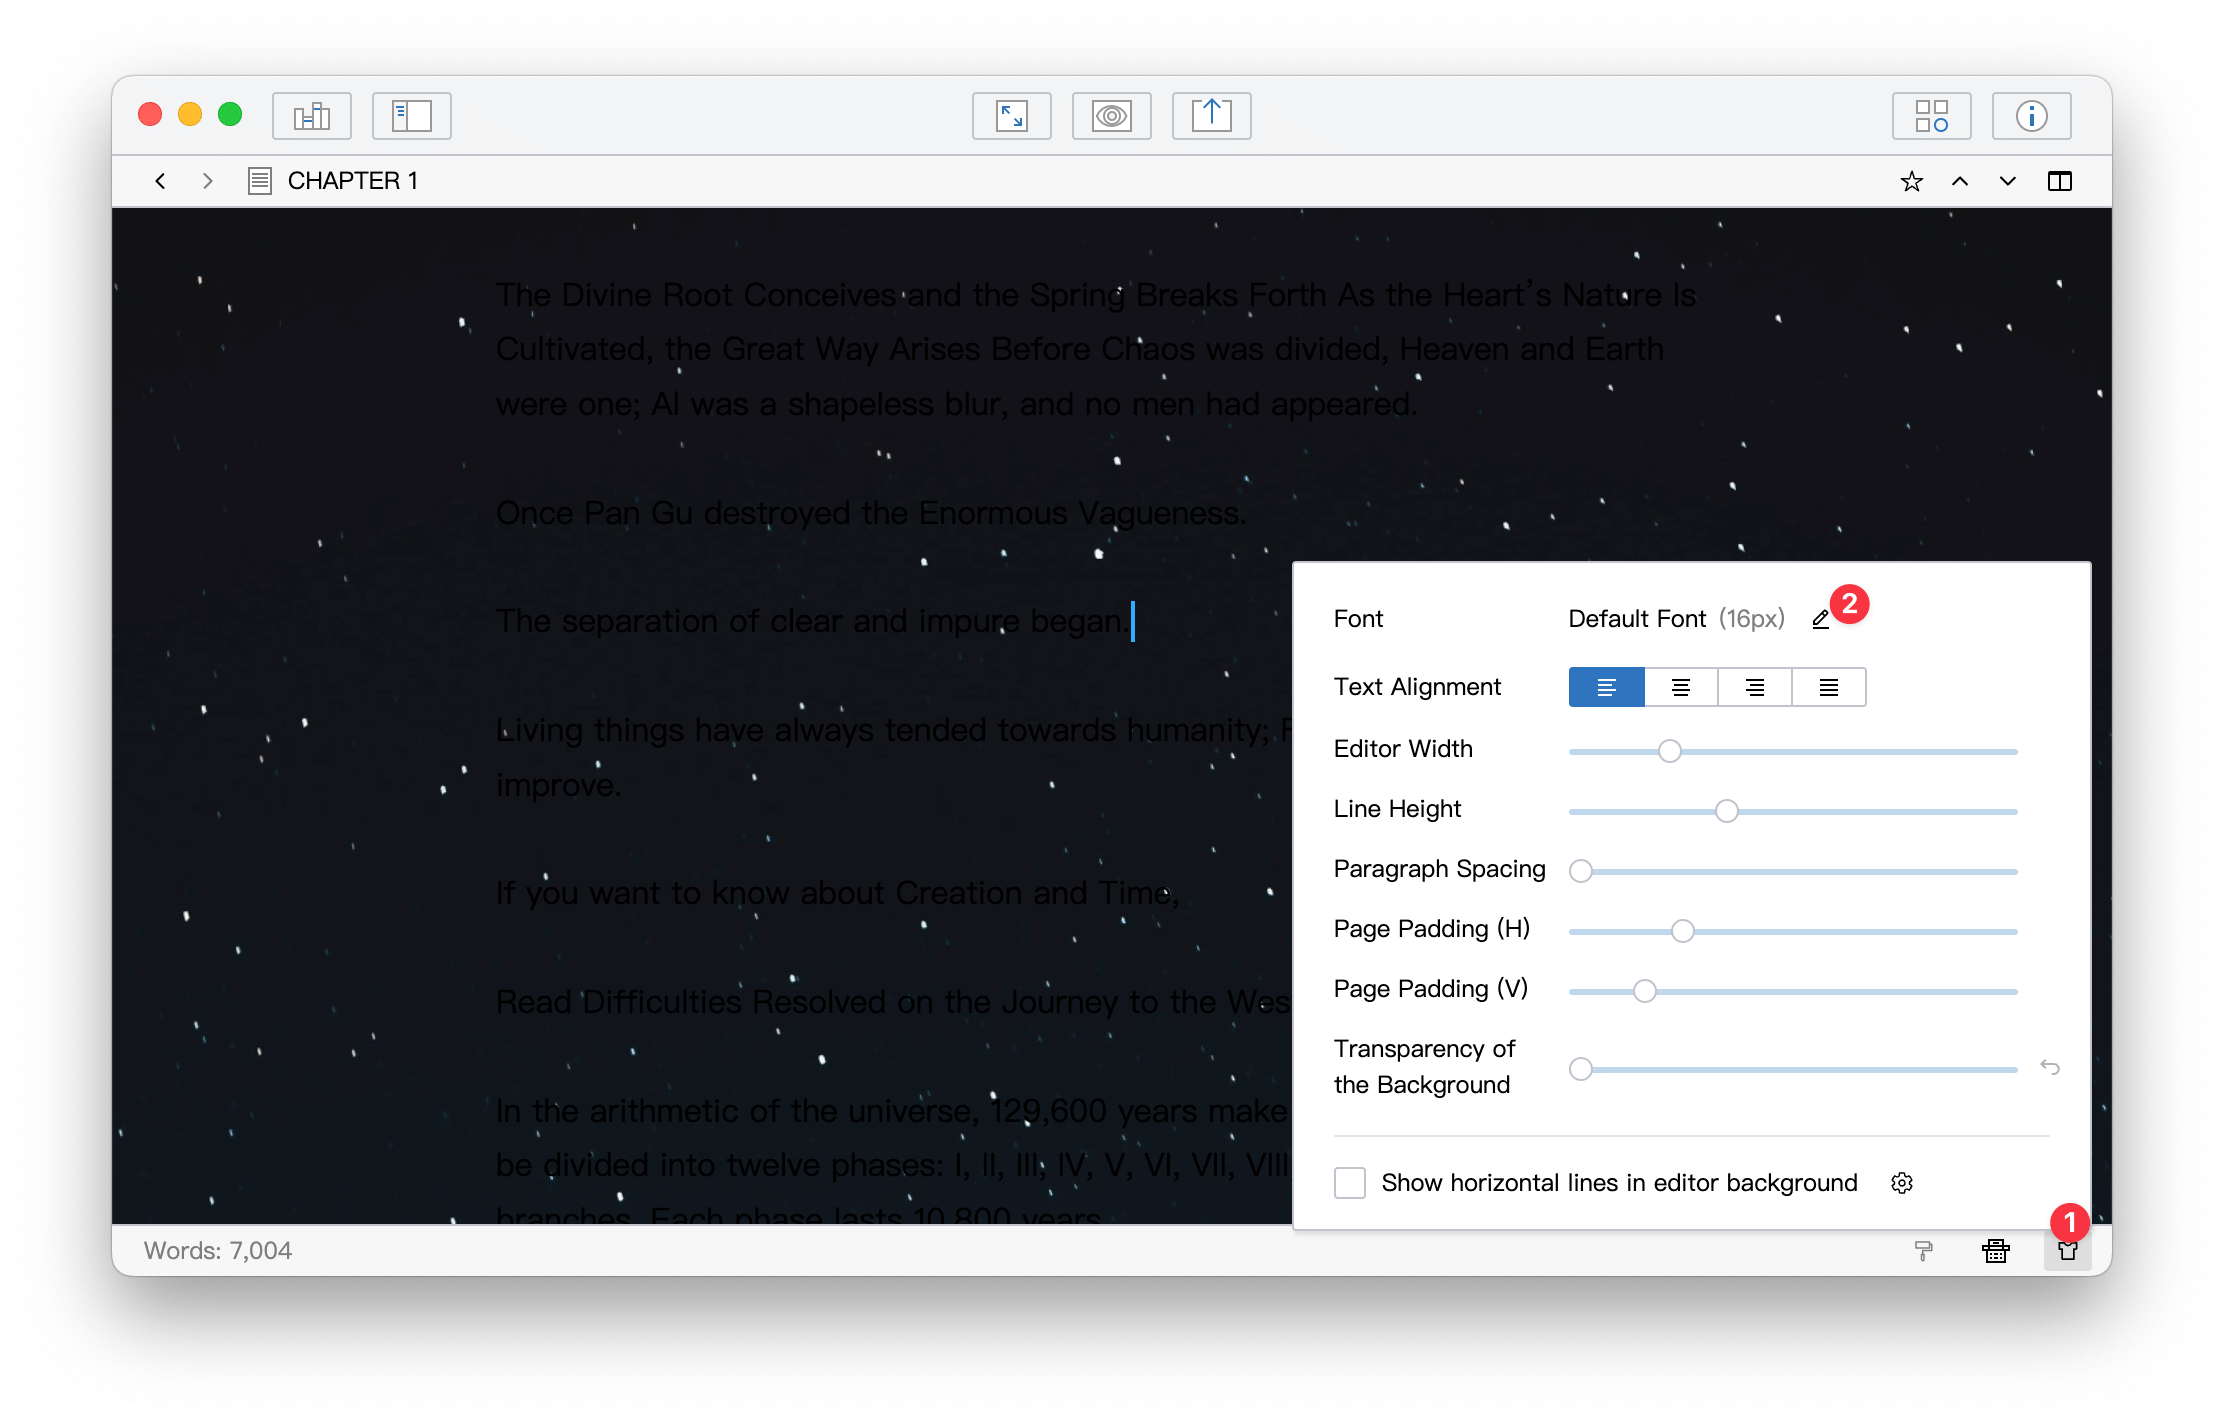
If you want the paper to be transparent and show the background image behind, you can click the T-shirt icon in the lower right corner of the editor and adjust the Transparency of the Background in the pop-up panel, as shown below:
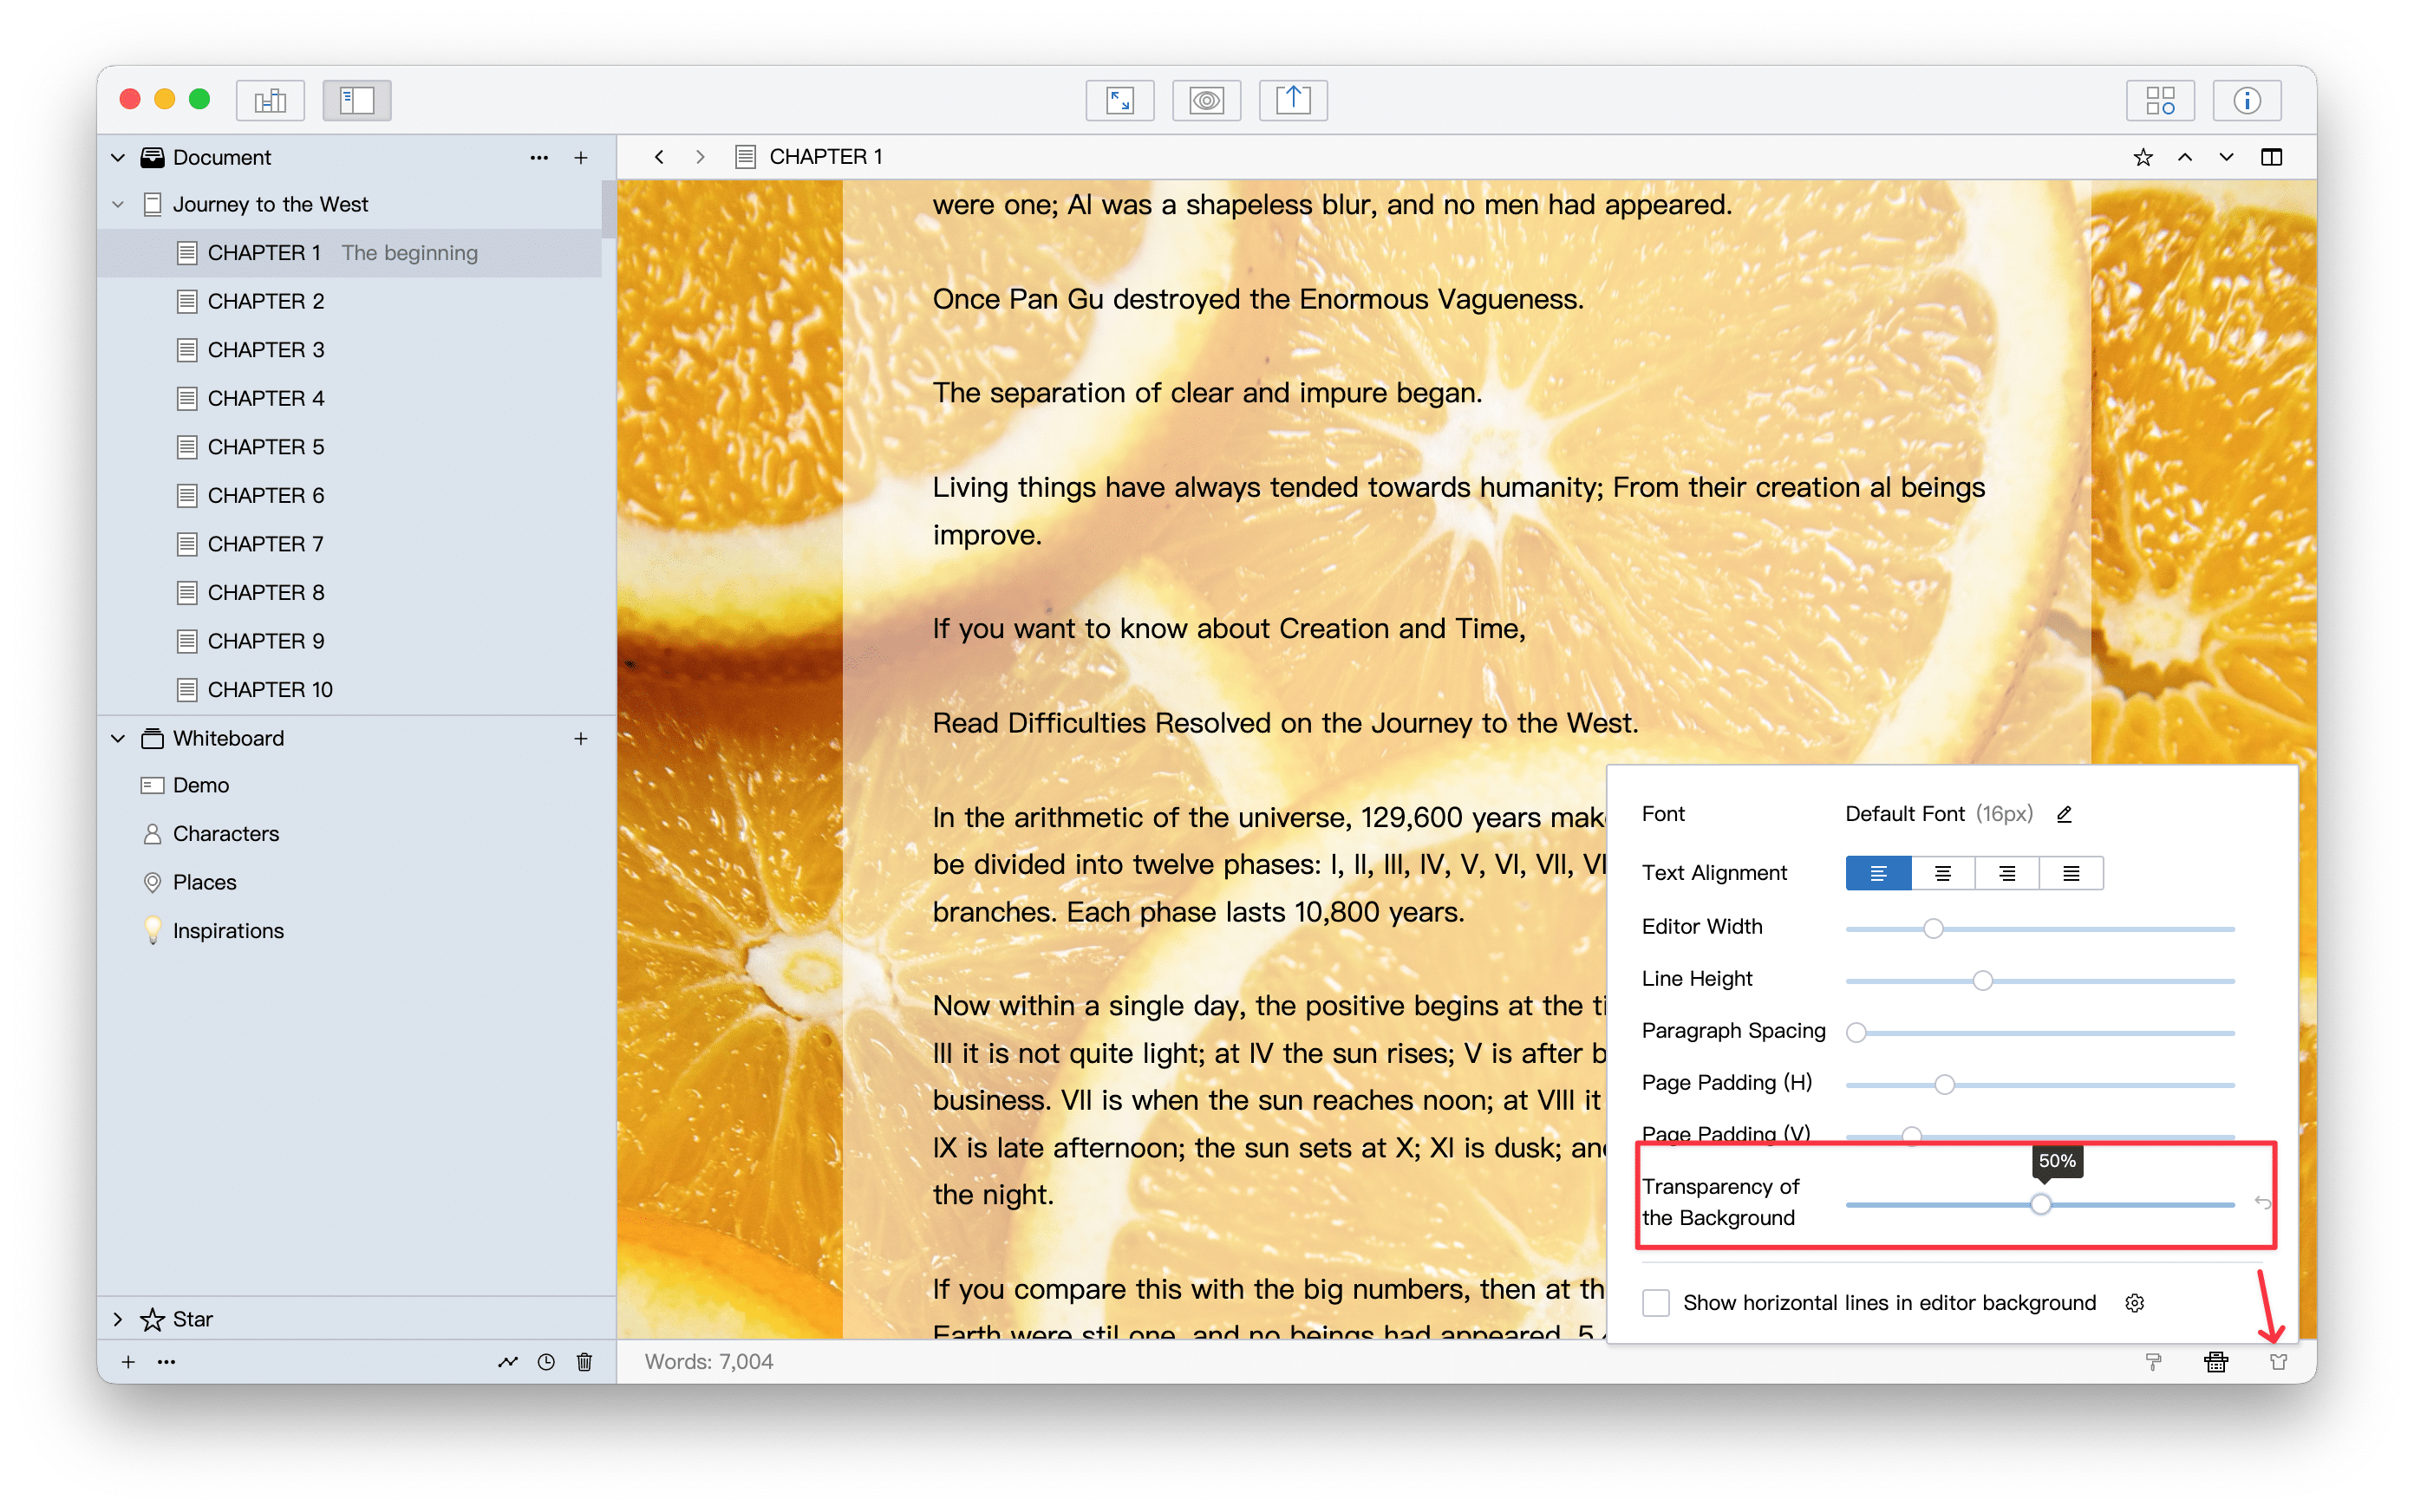
The value range of the background transparency is 0% ~ 100%, 0% means the paper is completely transparent, that is, the background image behind is completely displayed, 100% means it is completely opaque, and the default is 100%.
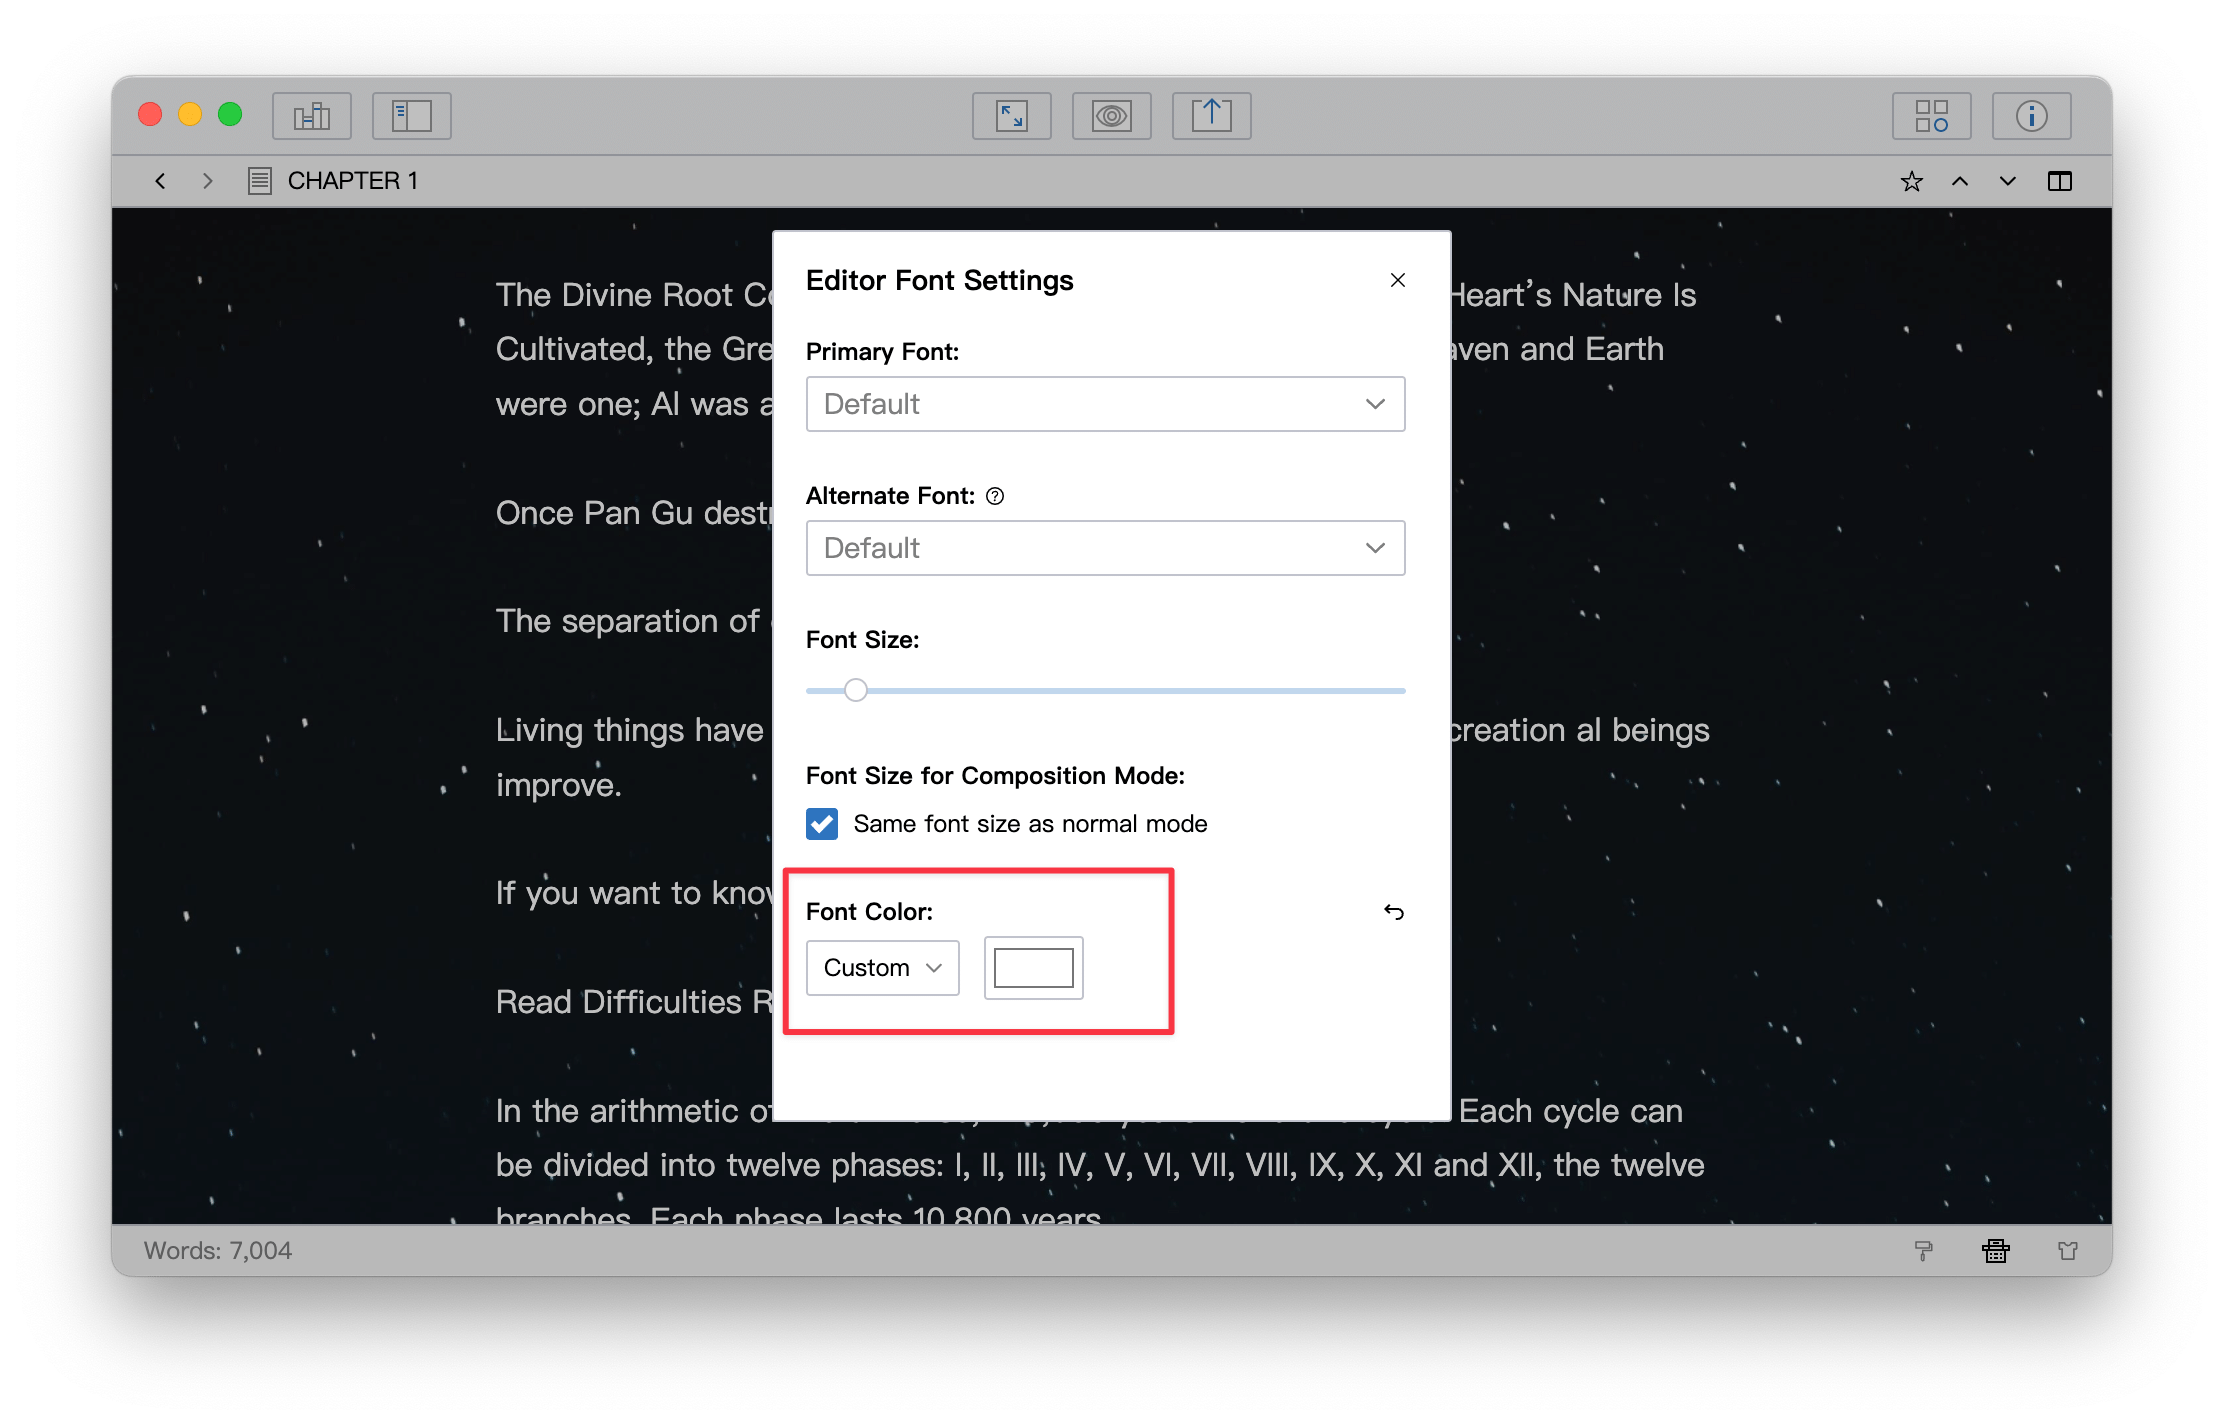
If you choose a dark image as the background and set the background transparency to 0%, the text in the editor may be difficult to read because the text is black by default. In this case, you can adjust the color of the text in the editor, in order to achieve a good reading effect. As shown below:
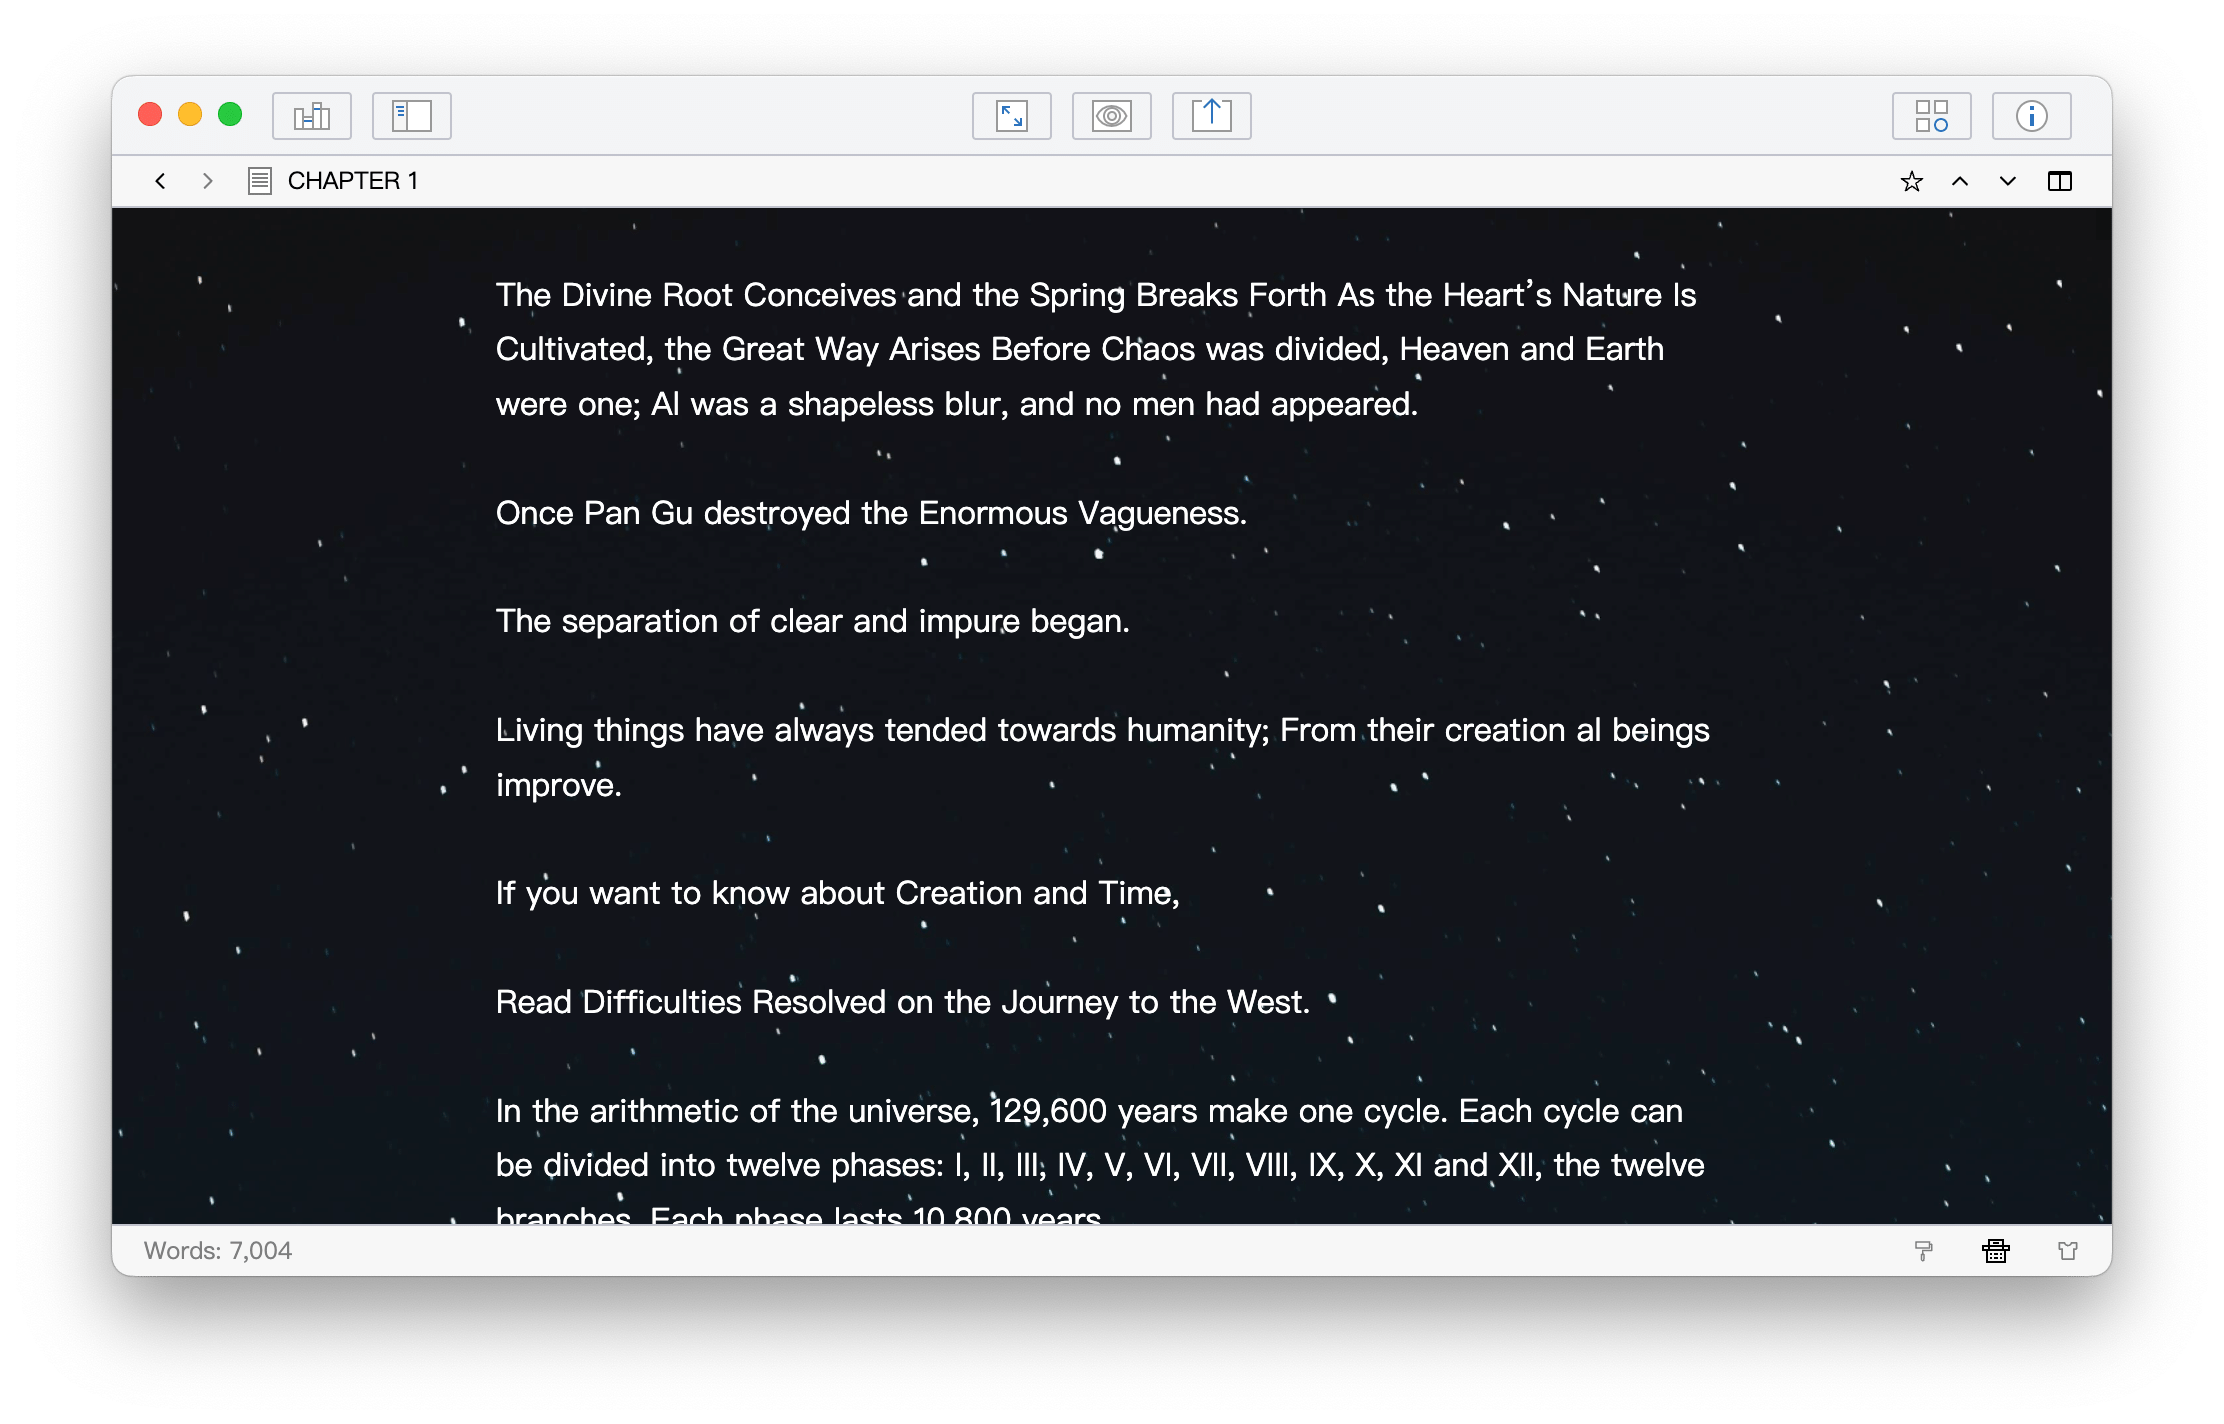
Final effect:
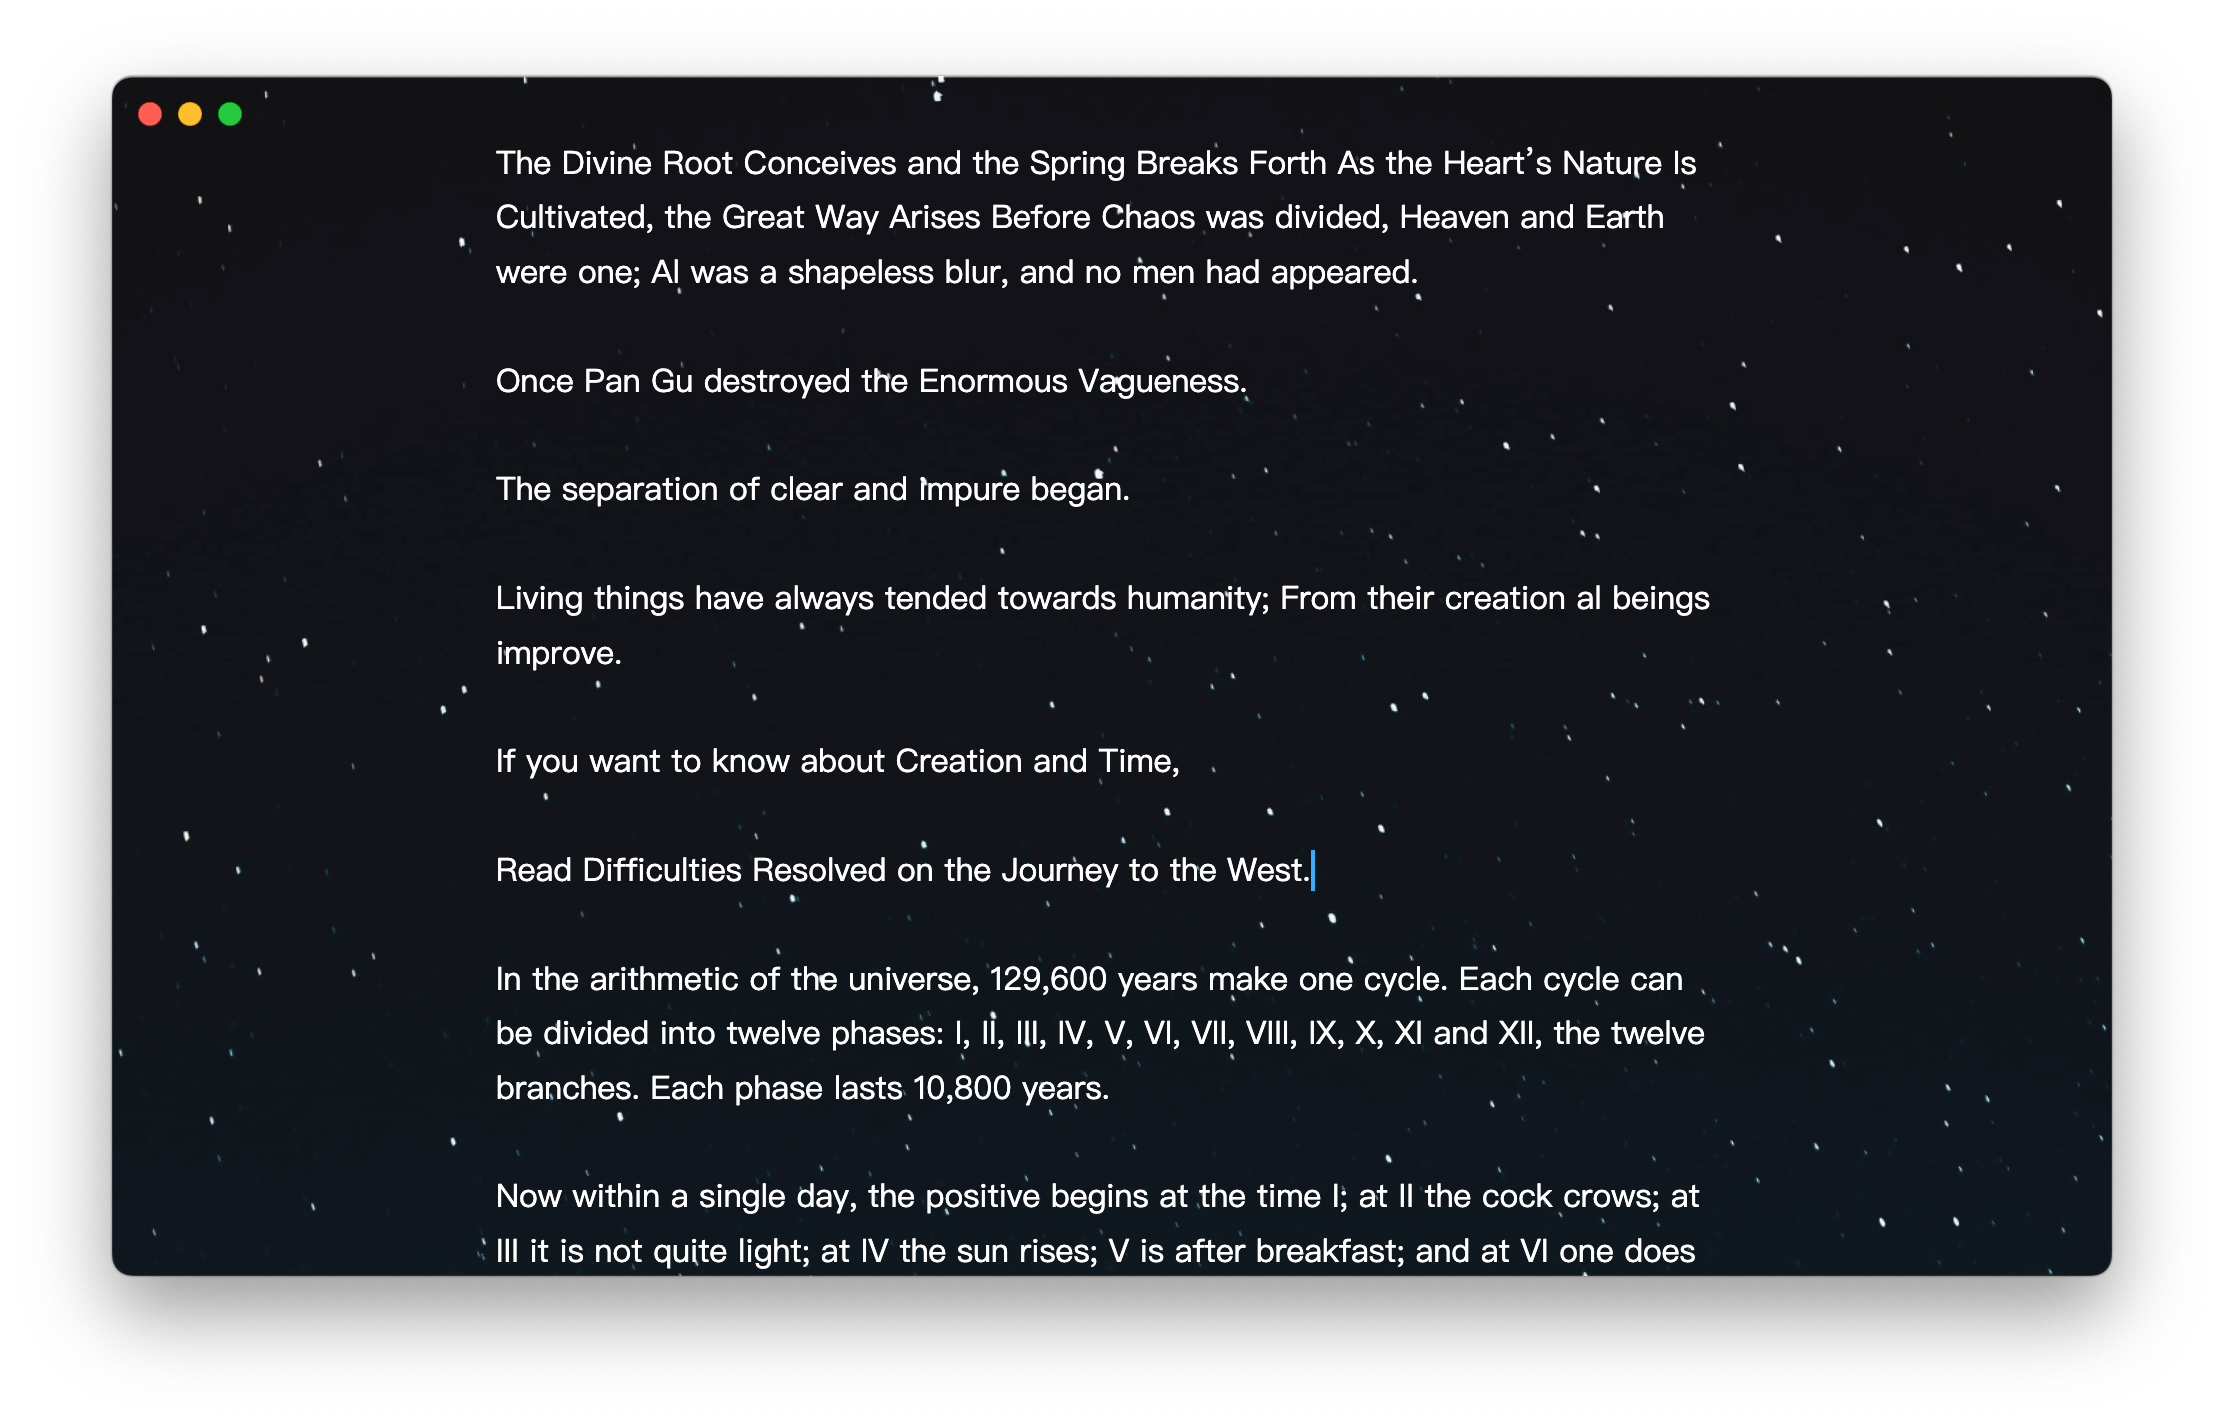
You can also use the Minimal Mode to hide each toolbar:
Advance
The Advanced Settings panel looks like the image below:
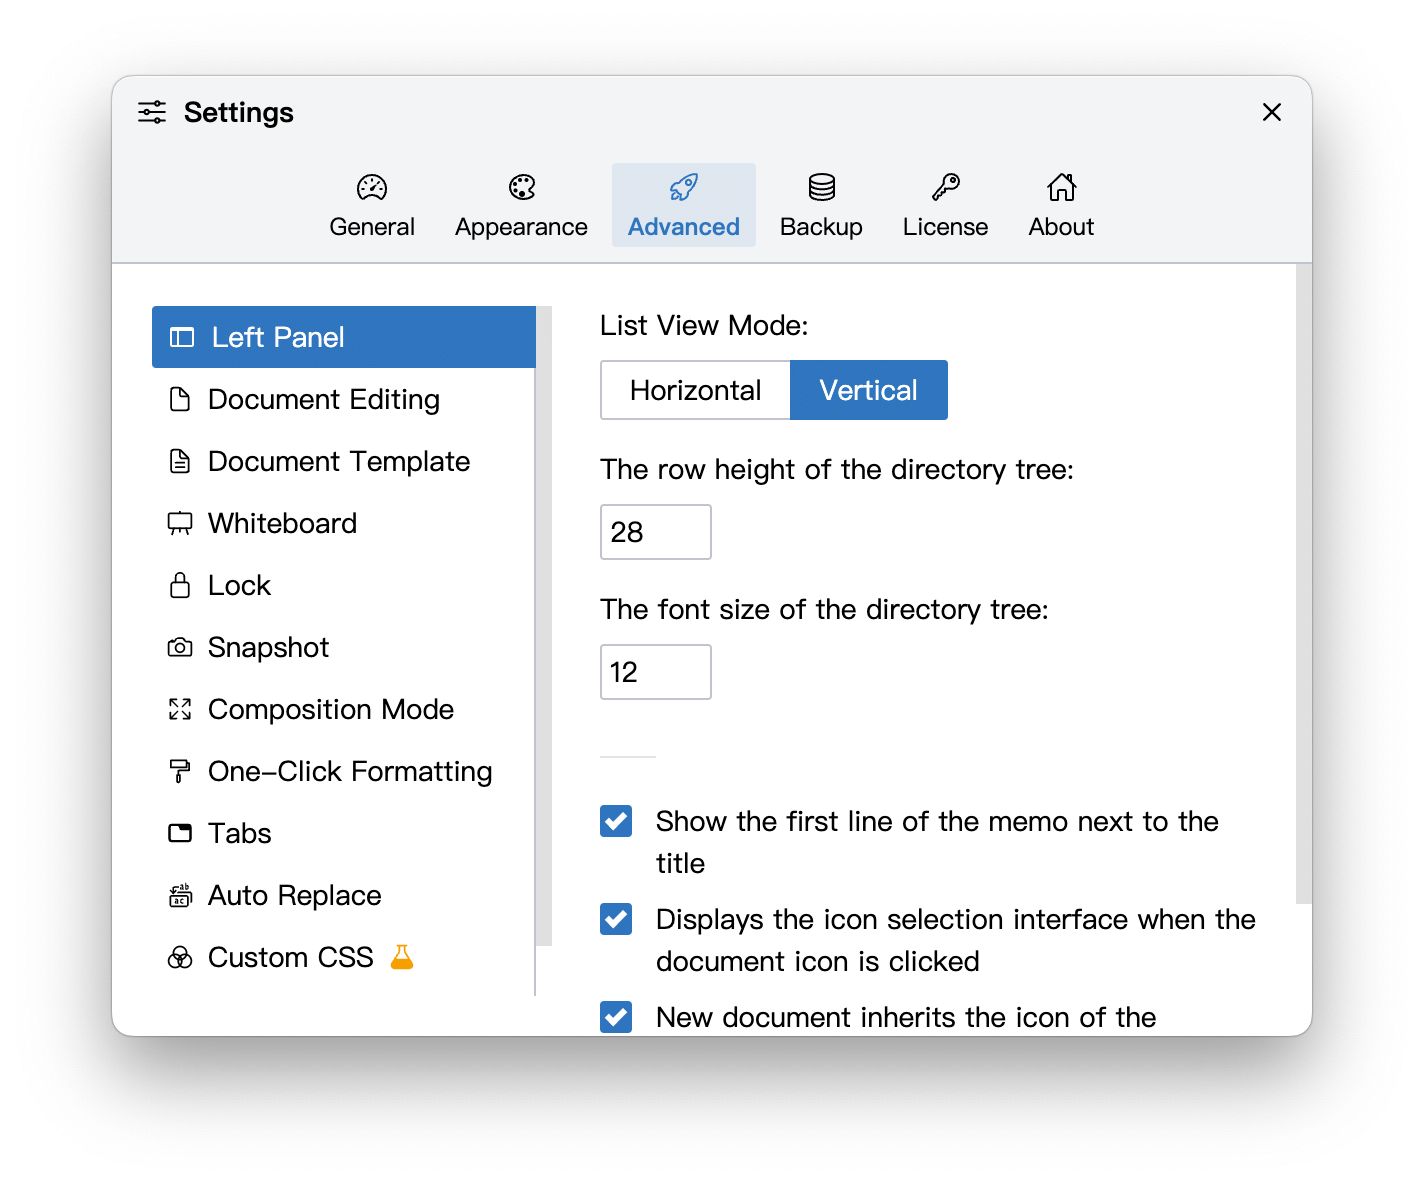
In this interface, you can set the left column directory tree, document editing, Interface Lock, Document Template, Snapshot and Composition Mode, for specific settings, click the corresponding menu item to view the details.
Backup
The backup settings panel looks like the image below:
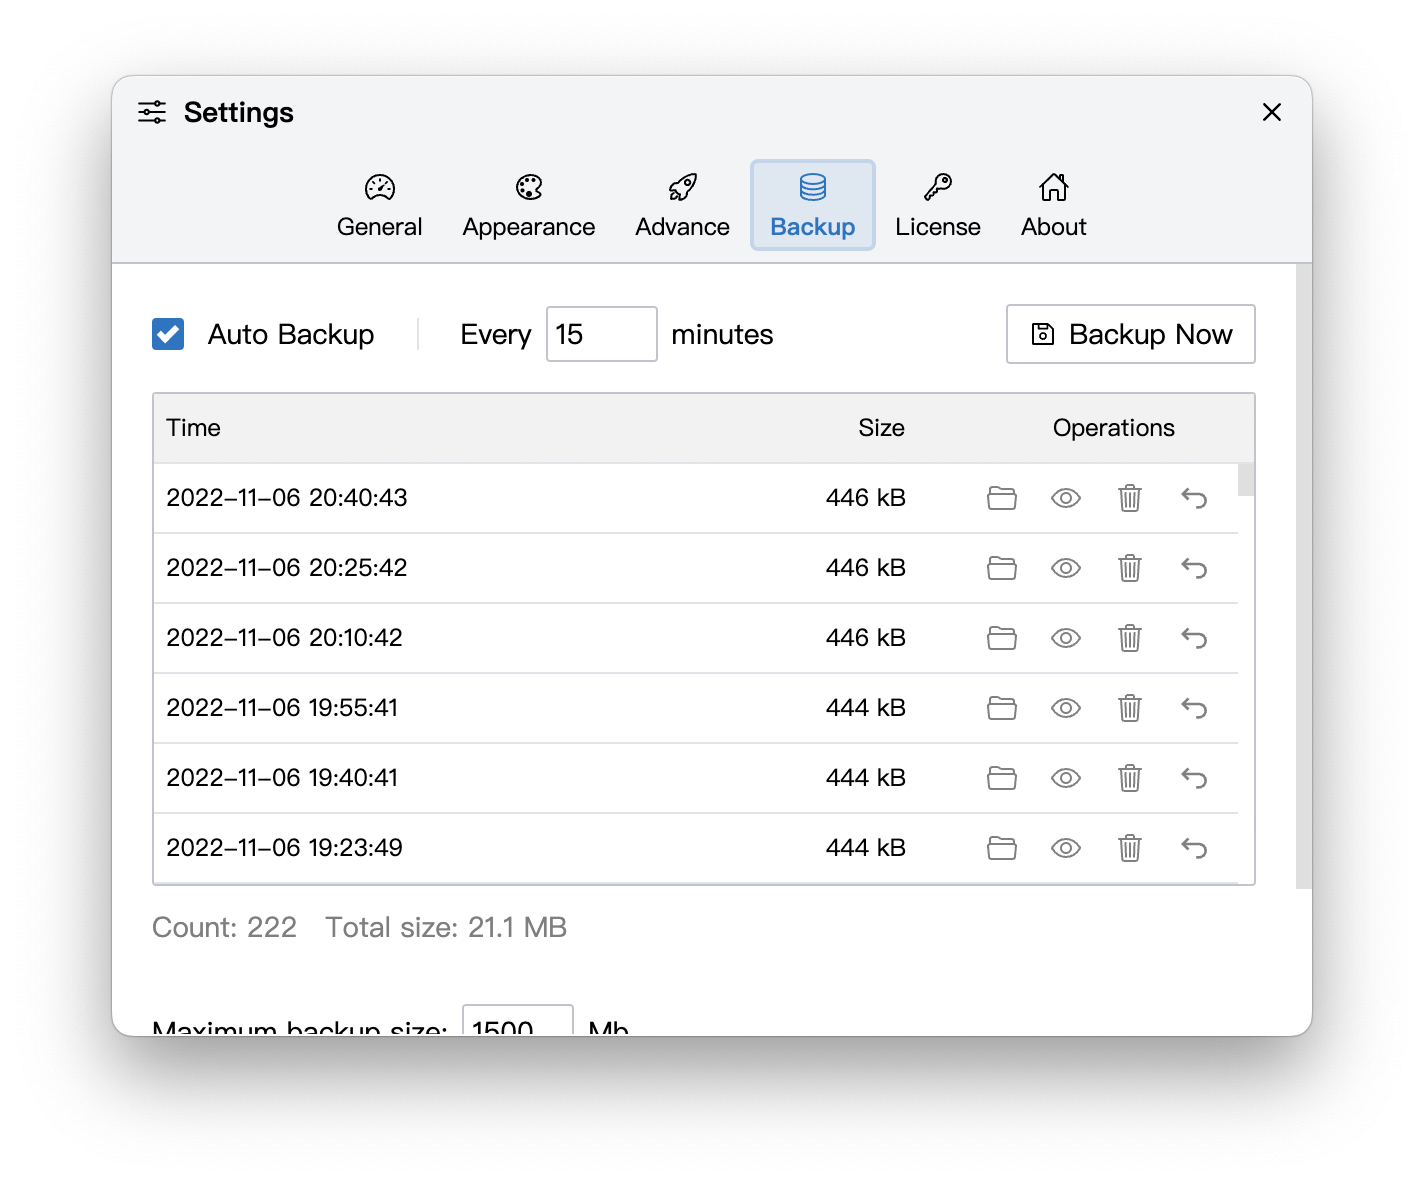
You can enable/disable automatic backup and set the time interval for automatic backup in this interface. You can also restore to a previous backup from this interface.
For details, see the description of Backup and Restore.